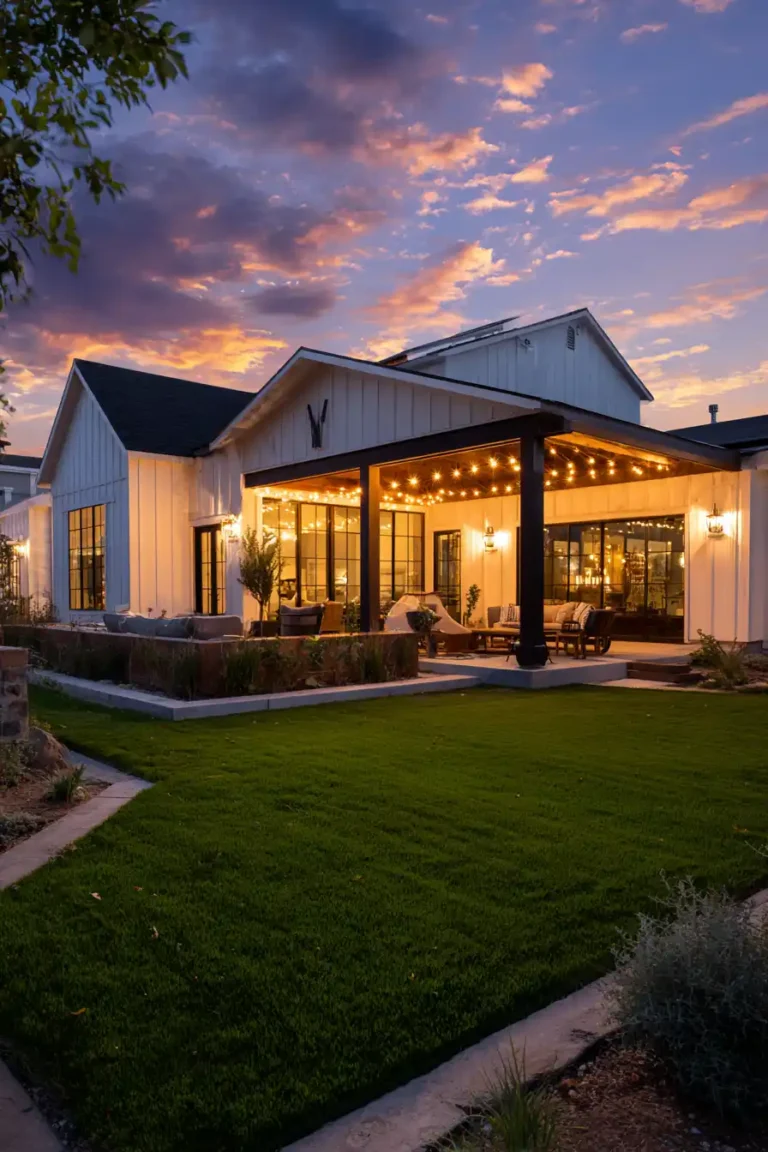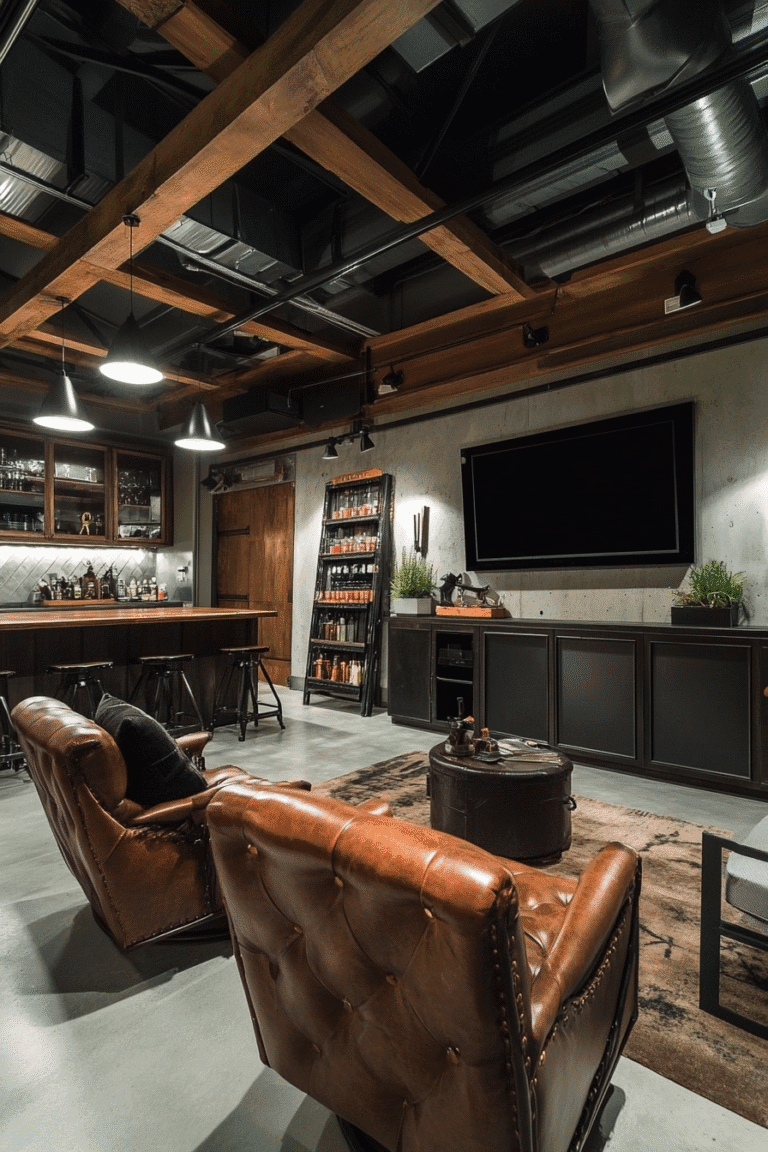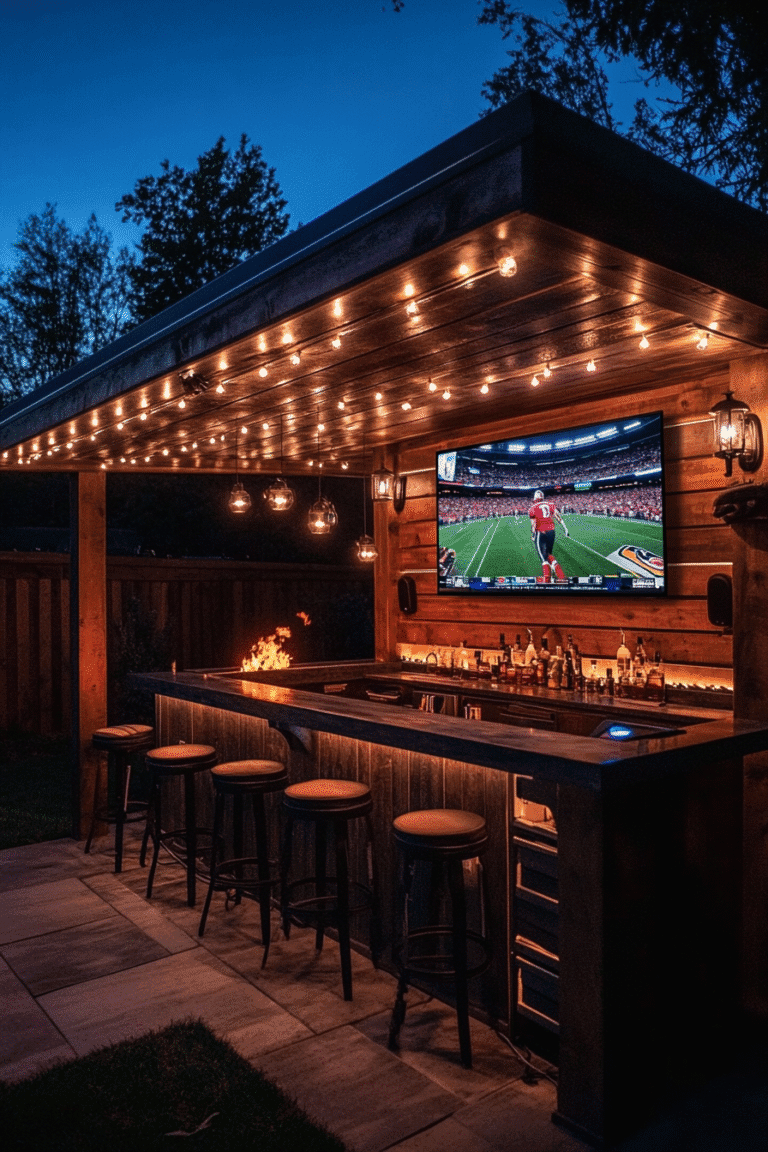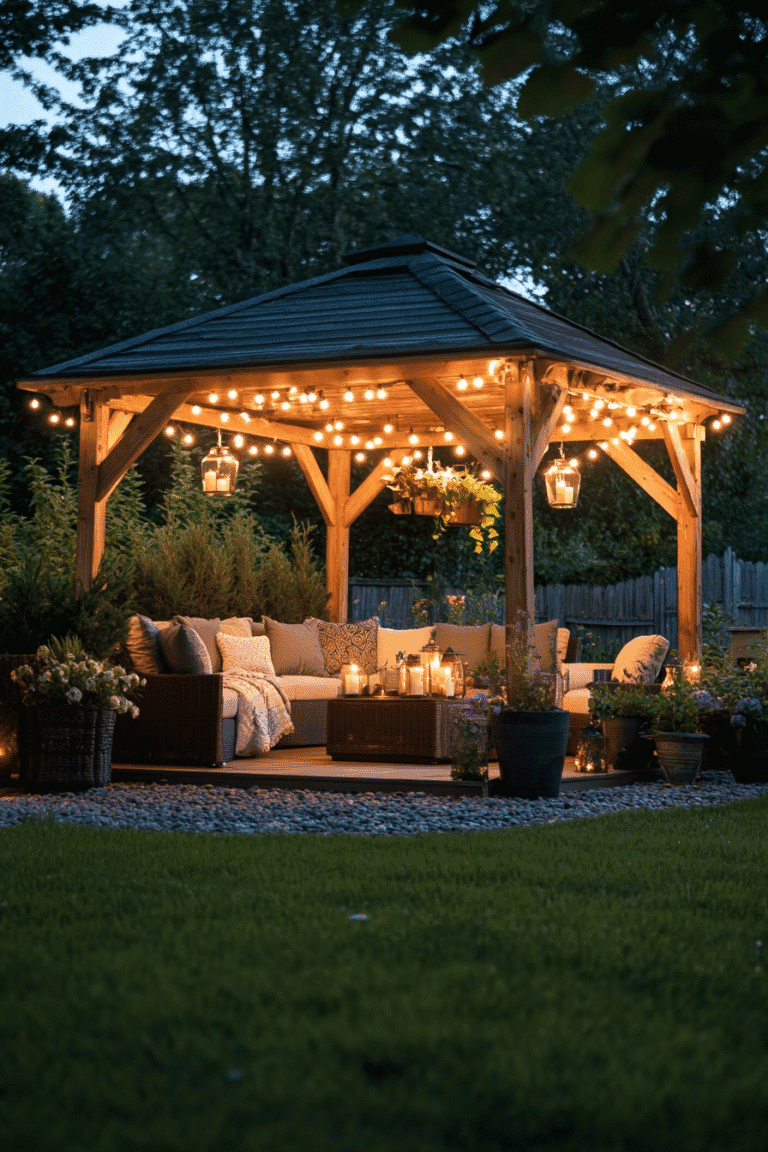

I once showed a house where the backyard outdoor kitchen looked like it had survived a small war. Rust on the grill, swollen cabinets, a counter cracked like it had been hit. The buyers stepped outside excited, then froze, then slowly backed away like the space might bite. Someone whispered “liability” the way people say “haunted.”
Two days later they bought a smaller house down the street with a grill from Costco, because peace of mind beats granite every single time.
Here’s what 20+ years in real estate taught me: a bad outdoor kitchen doesn’t just fail to add value, it actively subtracts confidence. But when done right? According to the National Association of Realtors, 68% of homeowners report a greater desire to be in their homes after adding outdoor features, with a Joy Score of 9.7.
This post breaks down how to plan one that adds value instead of becoming a liability.
Table of Contents
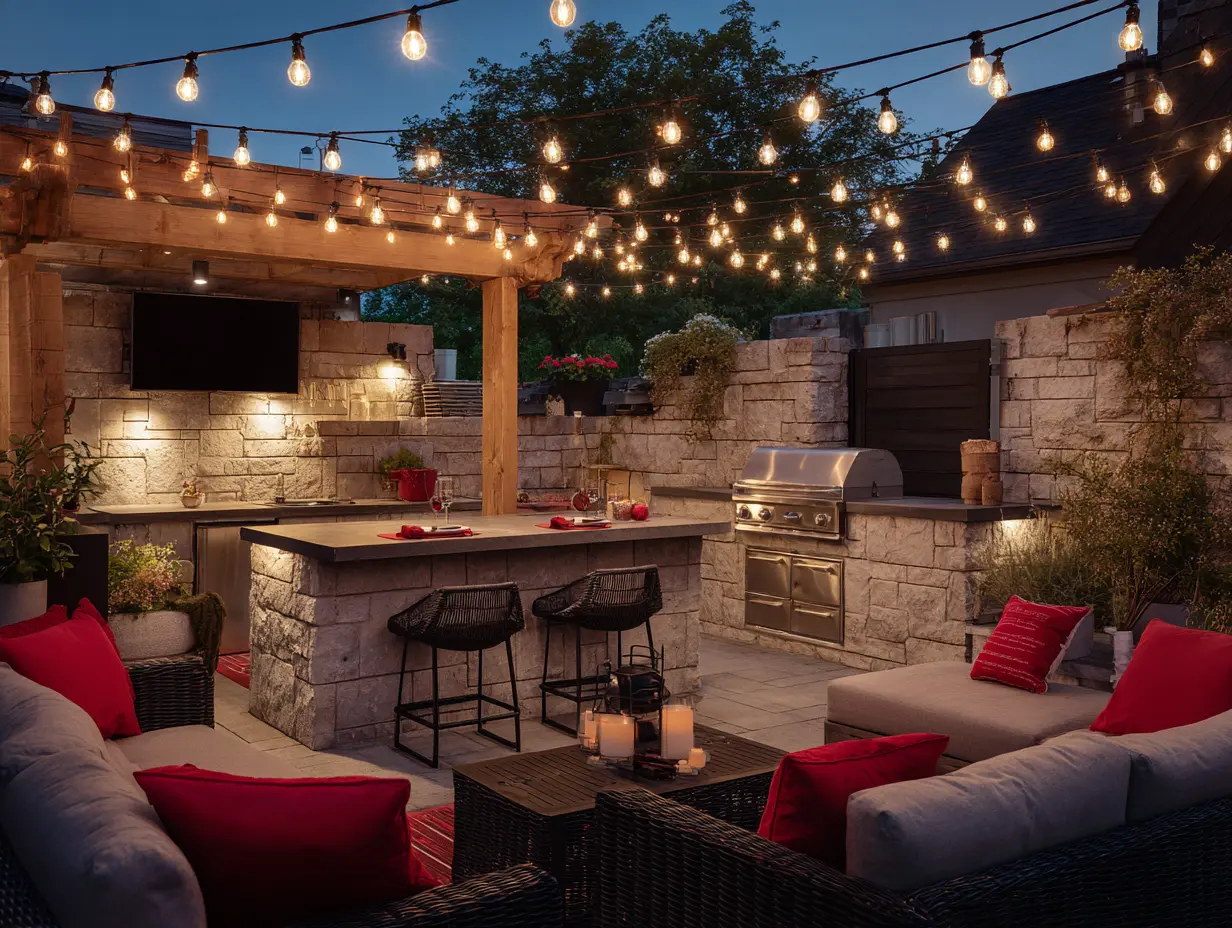
What Backyard Outdoor Kitchens Do (and Don’t Do) for Resale Value
Outdoor kitchens can add serious value, but only when they’re built to last and maintained well. The problem isn’t the concept. It’s the execution. A luxury outdoor kitchen with quality materials and proper coverage signals care. A rusted grill surrounded by warped wood signals neglect, and buyers will either walk or price that risk into their offer.
What kills resale value:
- Weather damage (rust, rot, cracked counters)
- Cheap materials that don’t hold up
- No coverage or protection from the elements
- Poor maintenance that screams “expensive fix”
What adds value:
- Covered outdoor kitchens that protect the investment
- Stainless steel, sealed stone, composite materials
- Clean, functional layouts
The outdoor kitchens that held their value best over the years? The ones that didn’t require constant upkeep just to stay usable. Bottom line: outdoor kitchens aren’t automatically valuable. They’re valuable when they look like an asset, not a project.
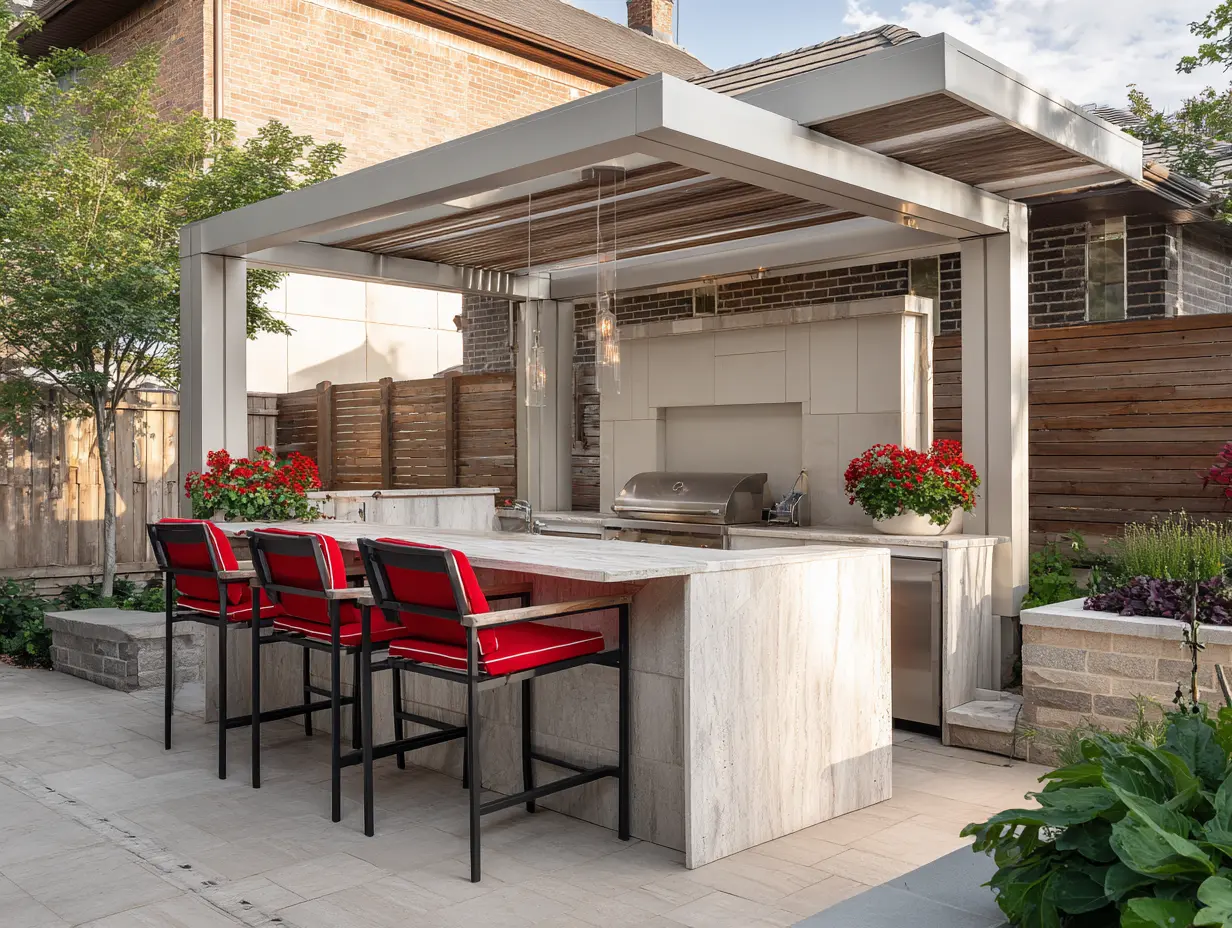
Where Should You Put an Outdoor Kitchen?
Before you pick a single appliance, figure out where this thing is actually going to live. Location matters more than people think, and it’s the part most backyard outdoor kitchen guides skip completely.
A few things to consider:
- Near the house. Close to your indoor kitchen means shorter runs for water, gas, and electrical, which saves money on installation.
- Near utilities. If you’re running gas or water lines, distance equals cost. The farther the run, the bigger the bill.
- Under a pergola or existing structure. If you’ve already got shade or shelter, build around it instead of starting from scratch.
- On an existing patio. A solid, level surface saves you a full hardscaping project.
- Away from prevailing wind. Nothing ruins a grill night like smoke blowing straight into your seating area. Notice which way the wind usually moves through your yard before you commit to a spot.
Once you know where it’s going, then you can think about how you’ll use the space day to day. Your outdoor kitchen layout should match your reality, not an HGTV fantasy. Think in stations: prep, cook, serve, and seating.
If you’re working with a compact yard, 7 Brilliant Townhouse Backyard Ideas for Small Spaces has layout strategies that maximize every inch without cramping your style.
What your layout needs:
- A prep zone (cutting, plating, organizing)
- A cooking zone (grill, burners, counter space)
- A serving spot (somewhere to set food down)
- Seating that keeps people close without crowding the cook
Pro tip: If you’ve got a pergola or covered area, that’s your natural anchor point. Build your DIY backyard kitchen around it so you’ve got instant weather protection and a defined zone.
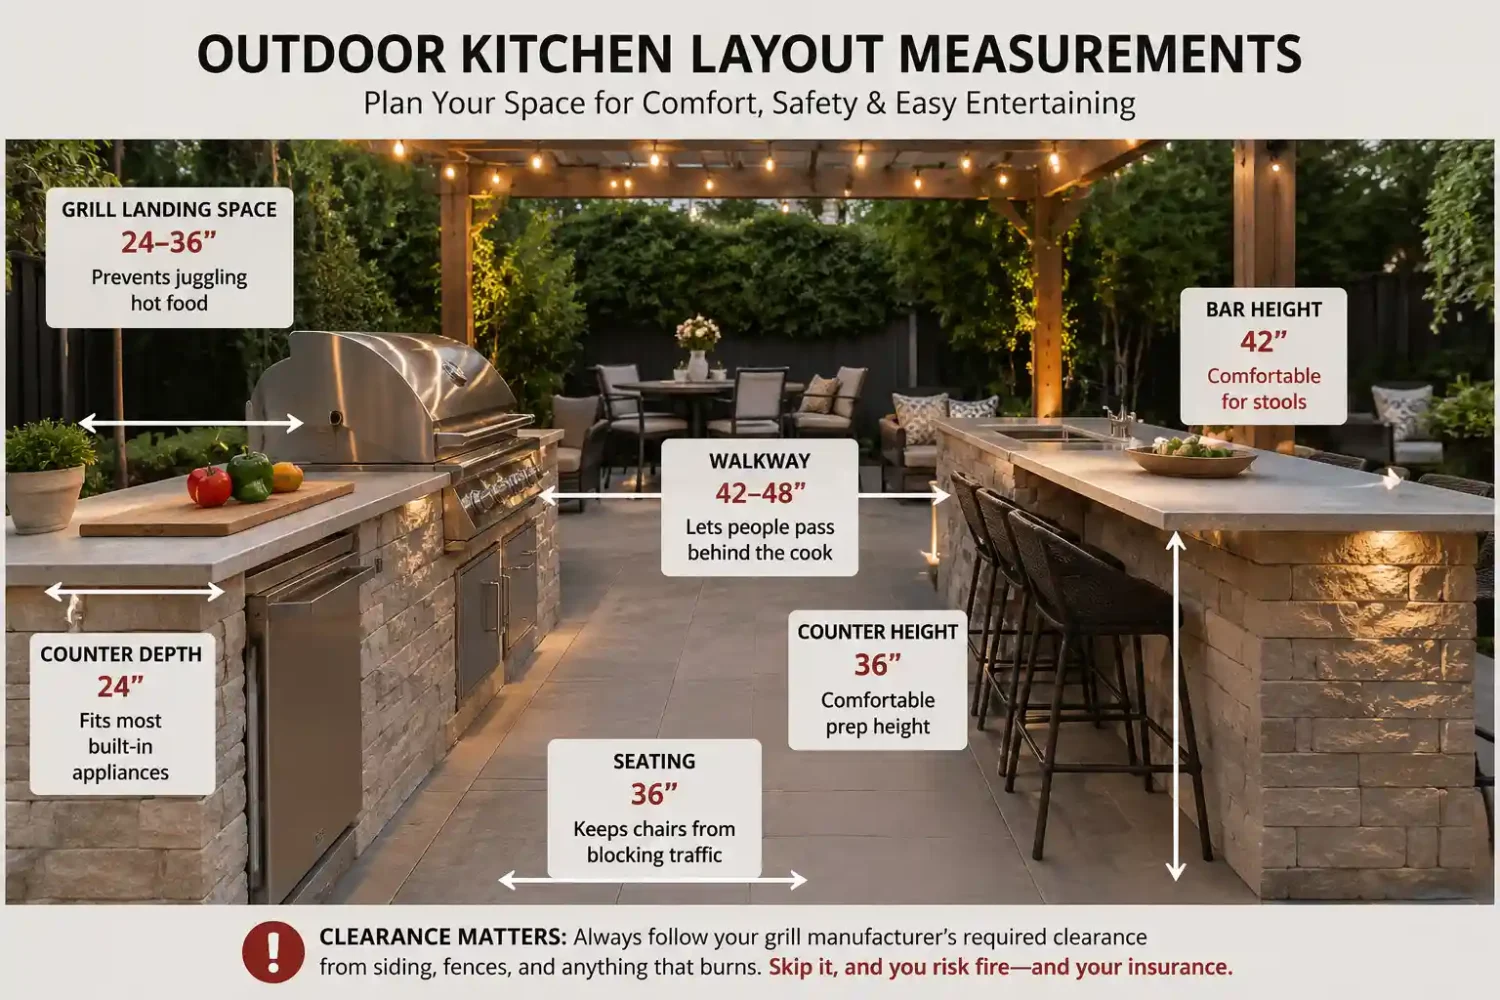
Outdoor Kitchen Layout Measurements
People skip this part. They pick a grill, a countertop, maybe a pergola, and hope it fits. Then they’re out there with a tape measure realizing the walkway behind the grill is too tight to cook in.
| Feature | Recommended | Why it Matters |
|---|---|---|
| Grill landing space | 24-36″ | Prevents juggling hot food |
| Walkway | 42-48″ | Lets people pass behind the cook |
| Seating | 36″ | Keeps chairs from blocking traffic |
| Counter depth | 24″ | Fits most built-in appliances |
| Counter height | 36″ | Comfortable prep height |
| Bar height | 42″ | Comfortable for stools |
So before you buy anything, use these numbers. They’re not fancy, just the space your body and your guests actually need back there.
That last one matters more than people think. Every grill has its own clearance requirement from siding, fences, and anything that burns. Skip it, and you’re not just risking a fire, you’re risking your insurance not covering it if something goes wrong.
Small yard? You don’t need all 10×10 feet of open space to make this work. You need these clearances respected wherever your footprint lands.
Outdoor Kitchen Mistakes That Cost Homeowners Money
A beautiful outdoor kitchen won’t feel beautiful for long if it’s frustrating to use. Over the years, I’ve seen homeowners spend thousands on high-end grills and gorgeous countertops, only to overlook the little details that make an outdoor kitchen enjoyable every weekend.
Before you start building, watch out for these common mistakes.
1. Skipping Prep Space Beside the Grill
You’ll need a place to season meat, set down platters, rest hot food, and keep cooking utensils within reach. Plan for at least 24 to 36 inches of countertop space beside your grill so you’re not balancing plates on the grill lid.
2. Ignoring the Wind
Before choosing a location, spend a few evenings paying attention to which direction the wind usually moves through your backyard. Position your grill so smoke drifts away from seating areas instead of directly into conversations and dinner plates.
3. Leaving Everything Exposed to the Weather
Adding a pergola, roof extension, or retractable awning protects your investment, keeps cooking more comfortable, and helps outdoor appliances last much longer.
4. Choosing Indoor Materials
Indoor cabinets, laminate countertops, and particleboard products can quickly swell, peel, warp, or break down when exposed to moisture and changing temperatures. Choose weather-resistant materials designed specifically for outdoor use whenever possible.
5. Forgetting About Utilities
Think through where you’ll need electrical outlets, lighting, gas lines, and water before construction begins. Adding utilities after everything is built is usually far more expensive than planning for them from the start.
6. Creating Traffic Jams
Keep cooking, food prep, and beverage stations separate whenever possible. A simple beverage cart or outdoor refrigerator away from the grill allows people to help themselves without interrupting whoever is cooking.
7. Building Bigger Than You Need
The most functional outdoor kitchens are designed around how your family cooks and entertains. If you grill burgers a few times a month, you probably don’t need six burners, two sinks, and a pizza oven. Start with the features you’ll use regularly, then expand over time if your needs change.
Bottom Line
The best outdoor kitchens aren’t necessarily the biggest or the most expensive. They’re thoughtfully planned, easy to use, and built with durable materials that can handle the weather. Avoiding these common mistakes can save you money, reduce maintenance, and create a space you’ll genuinely enjoy for years to come.
Covering Your Outdoor Kitchen (The #1 Thing That Protects Your Investment)
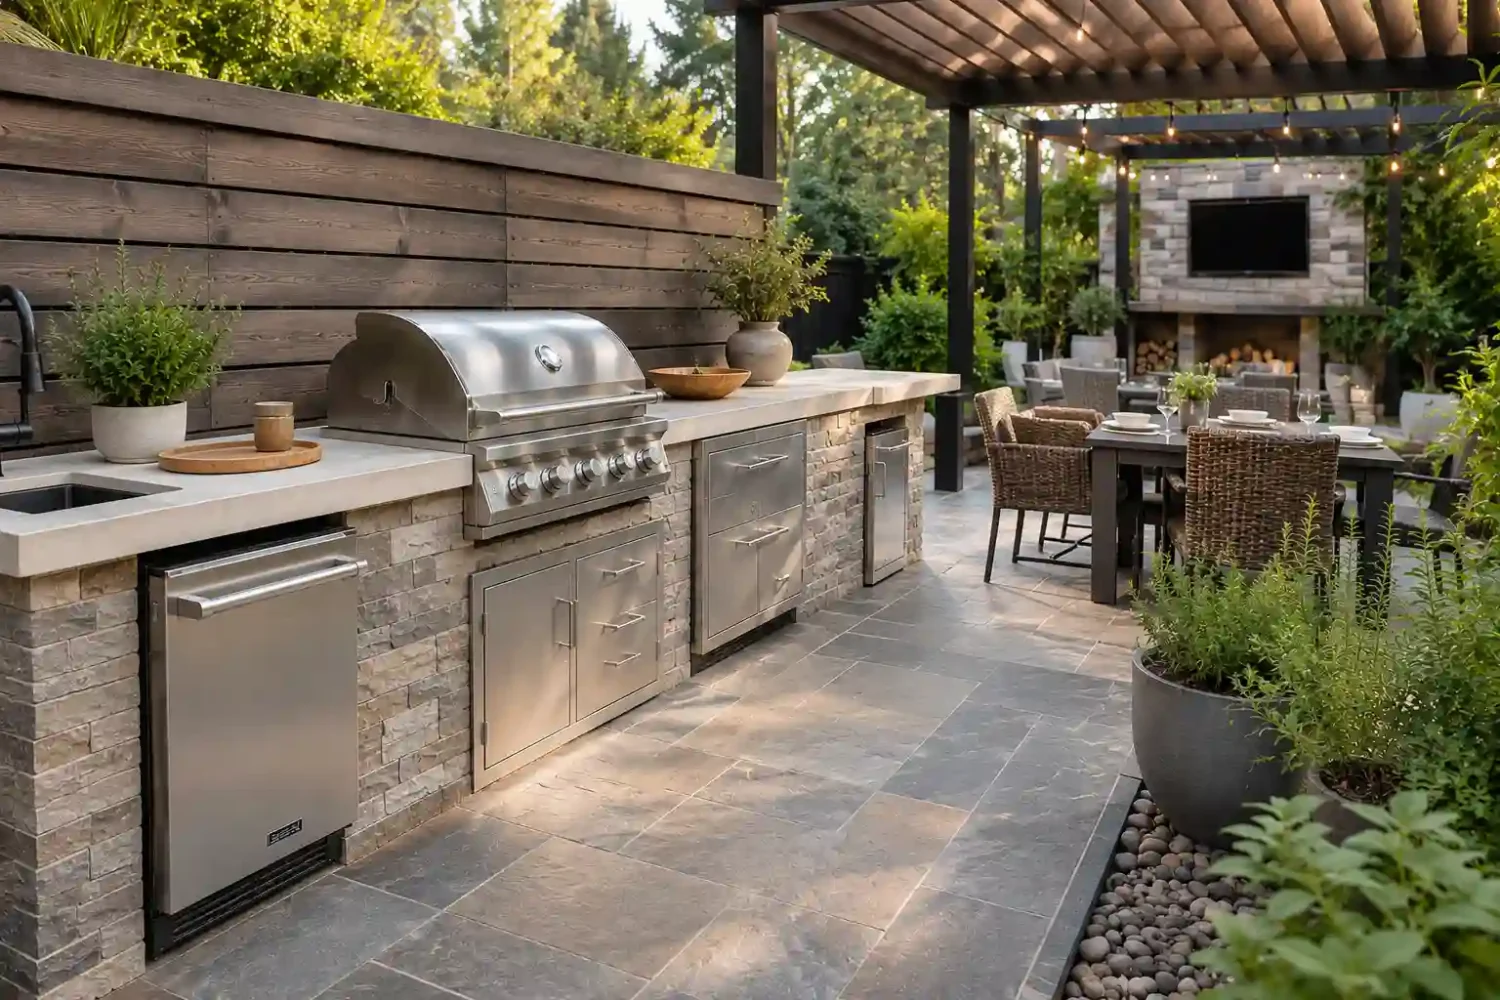
Coverage is the difference between an outdoor kitchen that lasts 10 years and one that looks like a crime scene in three. Without protection, even stainless steel rusts, wood swells, and counters crack. A covered outdoor kitchen keeps your investment working, not just comfortable.
You don’t need a full roof. A pergola, awning, or shade sail does the job. If you’re exploring options, Gazebo Ideas That Transform Your Backyard breaks down different setups that work.
Coverage options that work:
- Pergola with a retractable canopy
- Fixed roof or extension from your house
- Shade sail angled for rain runoff
- Retractable awning for flexibility
Bottom line: if it’s not covered, it’s not protected. And that affects both how you enjoy it now and what it’s worth later.
Cost Breakdown – What to Expect at Every Budget Level
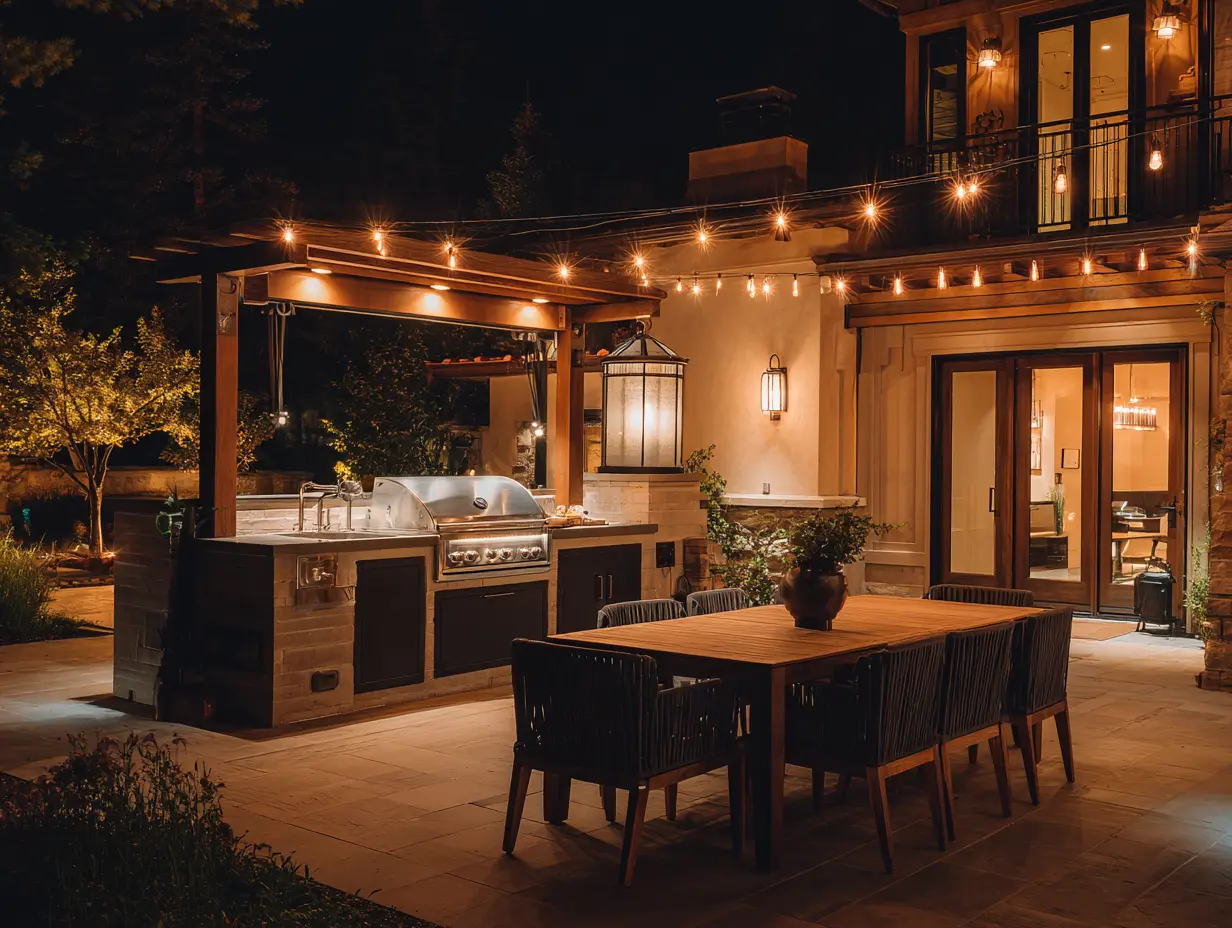
One of the biggest questions people have when planning a backyard outdoor kitchen is “how much is this going to cost?” The answer depends on how you build it, what materials you choose, and whether you DIY or hire out. Here’s a realistic breakdown of what you can expect at three different budget levels.
| Budget Level | Cost Range | What You Get | Best For |
|---|---|---|---|
| Budget-Friendly | $500 – $3,000 | Freestanding grill, rolling cart, basic storage, DIY assembly | Weekend warriors testing the outdoor kitchen vibe |
| Mid-Range | $5,000 – $15,000 | Built-in grill, countertops, covered outdoor kitchen with pergola, beverage cooler, some pro help | Homeowners serious about outdoor entertaining |
| High-End (Luxury) | $20,000 – $50,000+ | Full luxury outdoor kitchen with custom cabinetry, built-in appliances, professional installation, premium materials | Long-term investment in outdoor living |
Where to splurge:
- Coverage (pergola, awning, or roof) – protects everything else
- Quality grill and appliances – the workhorses of your setup
- Durable countertops (sealed stone or stainless steel)
Where to save:
- Decor and accessories (easy to upgrade later)
- Seating (start simple, add over time)
- Outdoor bar setup (a cooler and cart work just as well as built-ins)
Start where your budget allows, then build up as you go.
Outdoor Kitchen Lighting Ideas for Cooking and Entertaining
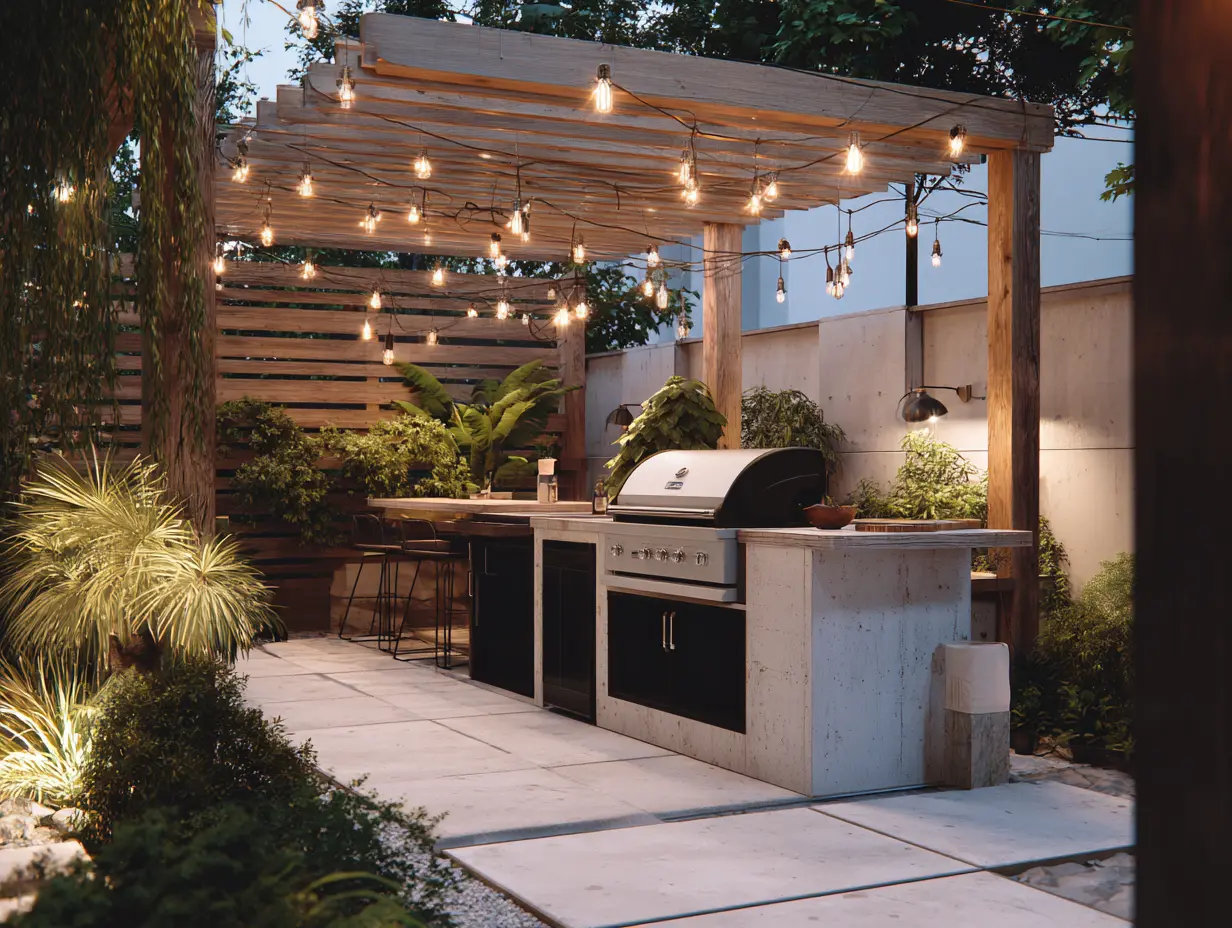
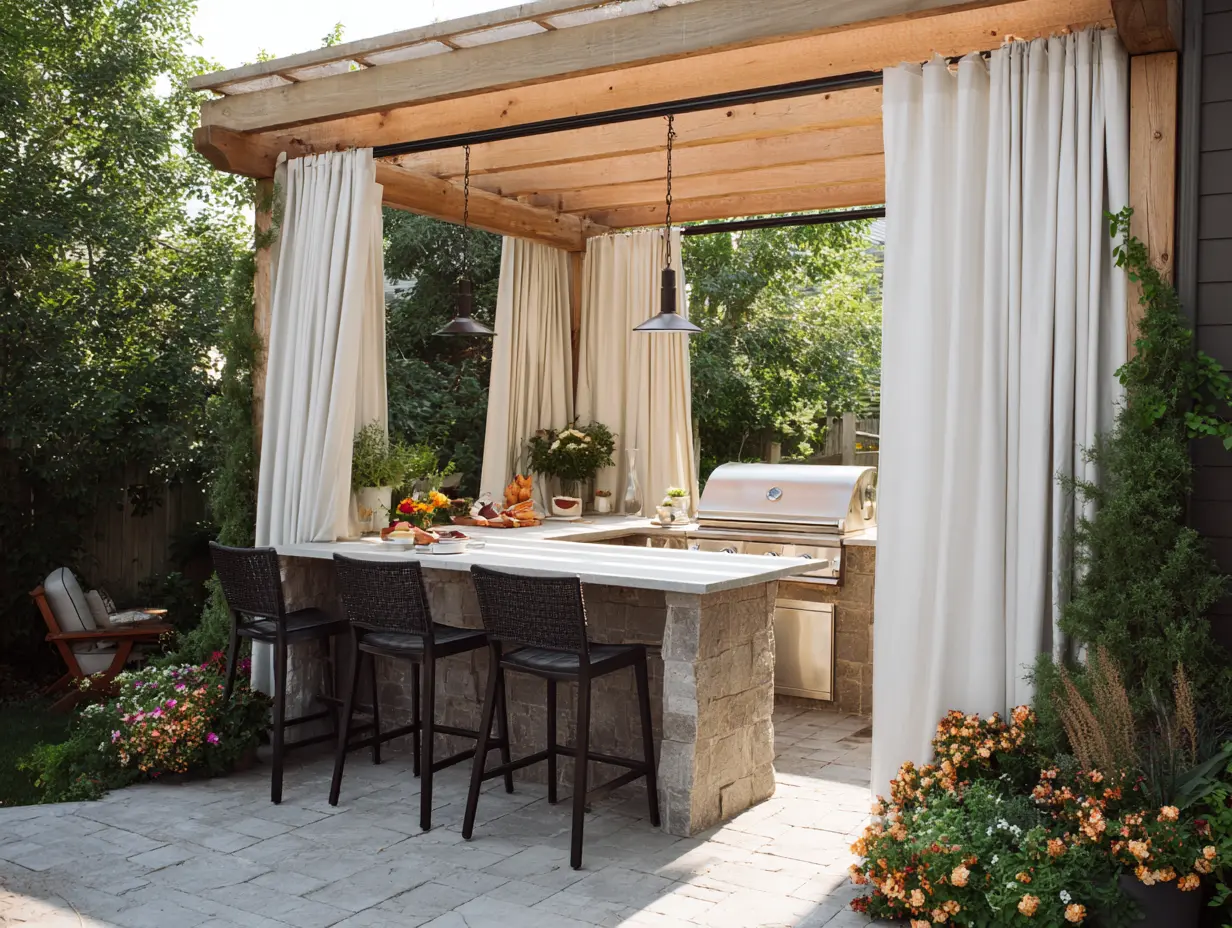
Good lighting is what keeps your backyard outdoor kitchen usable after sunset. You need two things: functional lighting so you can see what you’re grilling, and ambient lighting that makes people want to hang out. Skip the harsh spotlights. Go for string lights overhead, sconces on walls, and under-cabinet LEDs that light your prep zones without blinding anyone.
For more ideas on outdoor lighting that adds curb appeal and function, check out Outdoor Porch Lighting Ideas for Maximum Curb Appeal.
Lighting that does the job:
- String lights zigzagged overhead for ambiance
- Sconces or lanterns mounted on posts or walls
- Under-cabinet LED strips for prep zones
- Solar path lights to define the space
Lighting doesn’t just make your kitchen functional at night. It just makes everything more inviting.
Outdoor Bar Setup Tips for Easy Entertaining
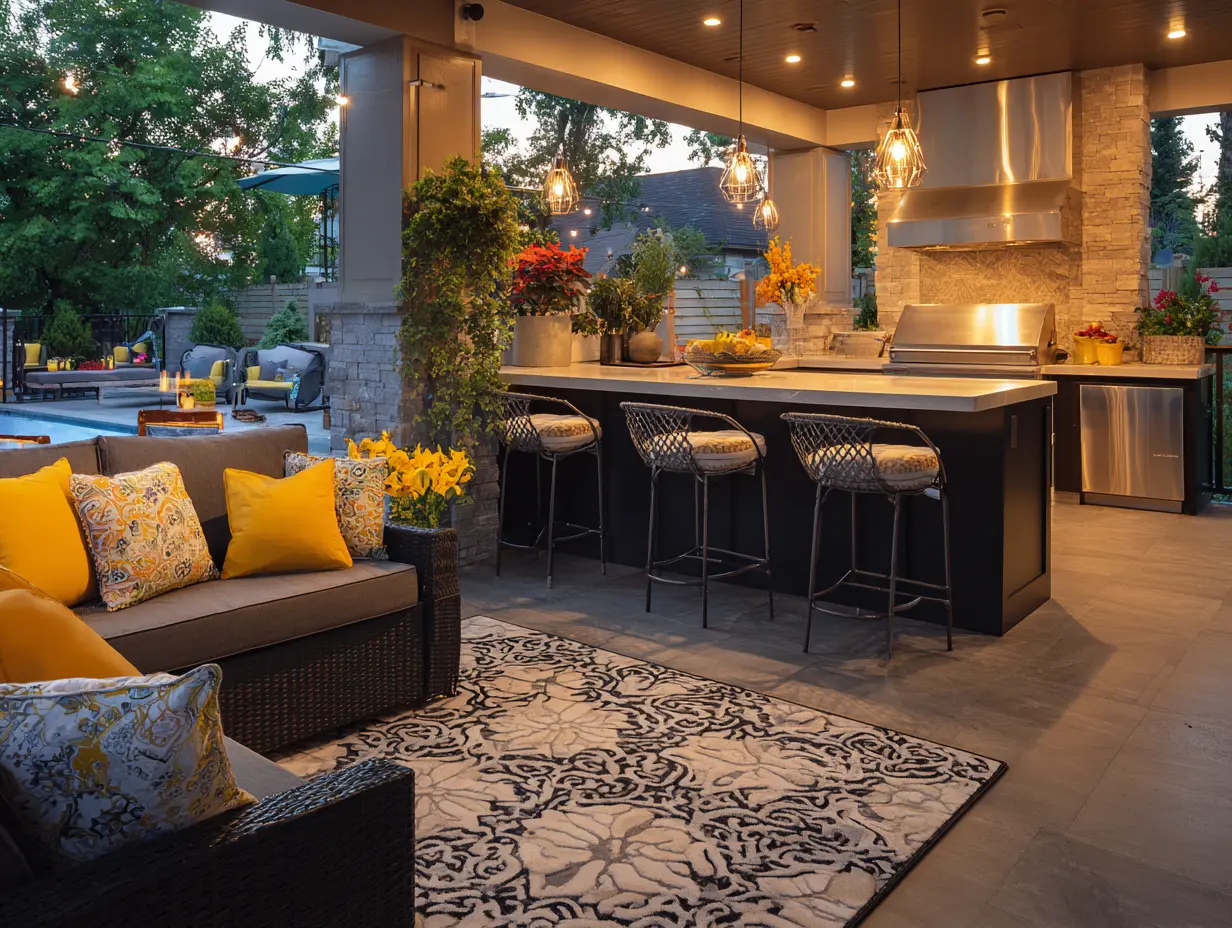
Drinks and food prep shouldn’t share the same zone. When your outdoor bar is crammed next to the grill, someone’s always in the way, reaching around hot surfaces or blocking access to utensils. Give drinks their own spot so guests can help themselves without wandering into your cooking area.
You don’t need a built-in wet bar. A beverage cooler, a small counter, and a few glasses can do the job. The less traffic around the grill, the smoother everything flows.
What your bar zone needs:
- A beverage cooler or mini fridge (keeps drinks cold without stealing grill space)
- A small counter or cart for glasses and mixers
- Easy access that doesn’t cross through the cooking zone
- Ice bucket or insulated storage
Common mistakes:
- Placing the bar right next to the hot grill (guests block the cook or risk burns)
- Using one cooler for drinks AND raw food (nobody wants beer next to raw chicken)
Keep drinks separate, and your outdoor kitchen instantly feels more organized and functional.
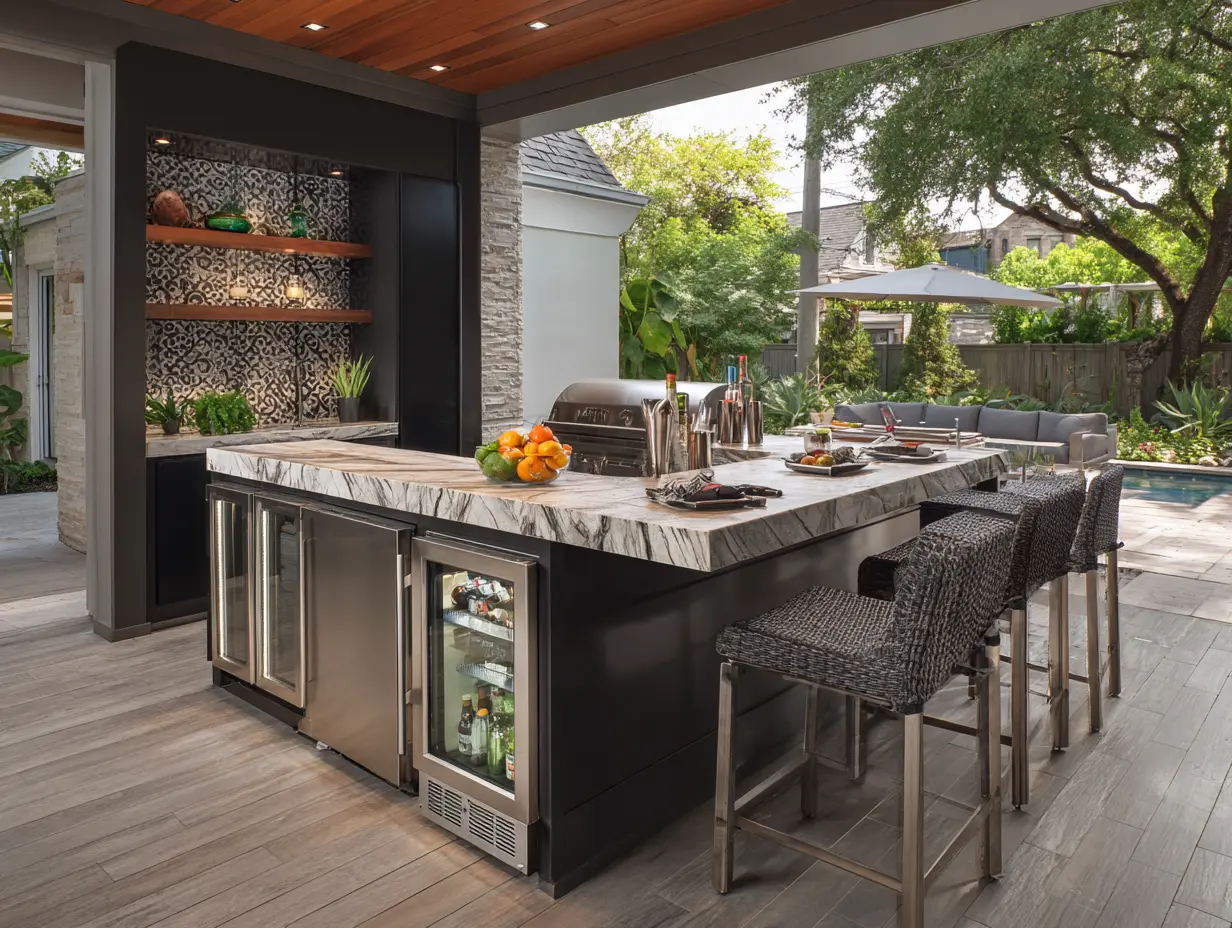
Best Outdoor Kitchen Materials That Last
Choosing the right materials for your covered outdoor kitchen makes the difference between a space that lasts decades and one that falls apart in a few seasons. Here’s a quick breakdown of what works and what doesn’t when you’re building a luxury outdoor kitchen that can handle weather year-round.
| Material | Durability | Maintenance | Best For | Avoid If |
|---|---|---|---|---|
| Stainless Steel | Excellent | Low (wipe clean) | Grills, counters, cabinets | You want zero upkeep |
| Sealed Stone/Concrete | Excellent | Low (occasional reseal) | Countertops, surfaces | Unsealed or porous |
| Composite Decking | Excellent | Very low | Flooring, framing | You prefer natural wood |
| Powder-Coated Metal | Good | Low | Hardware, frames | Coastal/high-salt areas |
| Unsealed Wood | Poor | High (constant treatment) | Nothing outdoors | Anywhere with weather |
| Laminate/Particle Board | Poor | Impossible | Never use outdoors | Always |
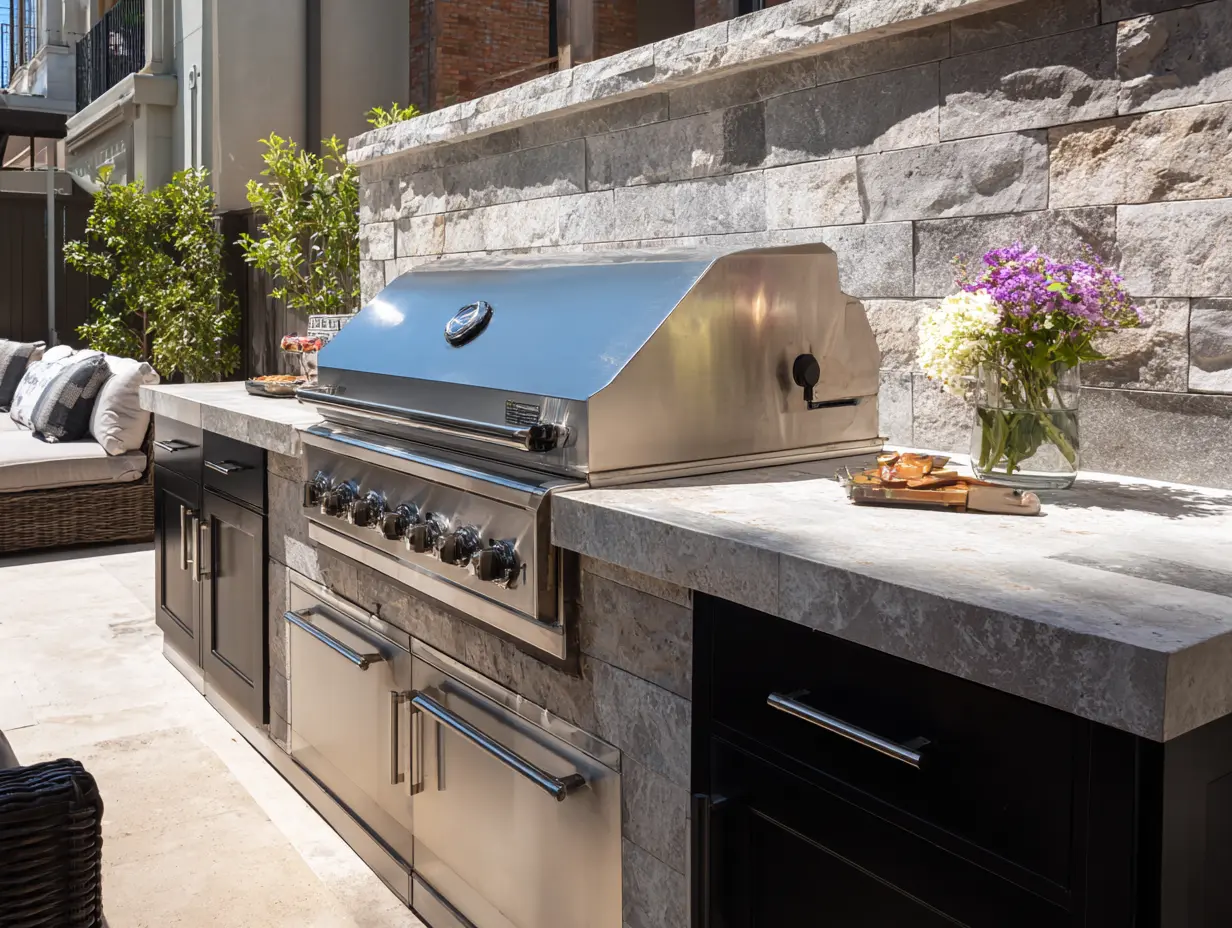
Outdoor Kitchen FAQs: What You Need to Know
How much does a backyard outdoor kitchen add to home value?
It depends on the quality and condition. A well-maintained covered outdoor kitchen with durable materials can add appeal and perceived value, but it won’t automatically boost your appraisal. Buyers respond to outdoor kitchens that look like assets, not projects.
What’s the biggest mistake people make with outdoor kitchens?
Skipping coverage. Without protection from weather, even high-quality materials deteriorate fast. The second biggest mistake? Not planning an outdoor bar setup that’s separate from the cooking zone, which creates traffic jams and makes entertaining feel chaotic instead of smooth.
Do I need a contractor or can I DIY?
You can absolutely DIY if you’re starting with modular setups like grill carts, prefab counters, and freestanding storage. For built-in structures, gas lines, or electrical work, hire a licensed professional. Even a DIY backyard kitchen benefits from proper planning and code-compliant installations.
How do I protect my outdoor kitchen from weather?
Use covers on grills and appliances, choose weatherproof materials, and add overhead coverage like a pergola or awning. Regular maintenance, proper drainage, and sealed surfaces keep everything functional longer.
What’s the best outdoor kitchen layout for a small backyard?
Even a tight footprint can work if you plan it right. Focus your outdoor kitchen layout around one wall or corner instead of a full U-shape, keep your outdoor bar setup simple with just a cooler and small counter, and skip anything that doesn’t get used weekly. A smaller layout with the right clearances beats a bigger one that feels cramped every time you use it.
Your Outdoor Kitchen, Your Way
Planning a backyard outdoor kitchen can feel overwhelming when you’re staring at price tags. Here’s the Home Hero Jen Mindset Shift: you don’t need to build it all at once. Start with a grill, a prep surface, and a plan. Add coverage next. Add in lighting and seating as you go.
The outdoor kitchens that work best aren’t the flashiest. They’re the ones that match how you live, protect your investment from weather, and don’t require constant upkeep just to stay functional. Start where your budget allows. Build smart, not fast. And remember: peace of mind beats granite every single time.
You’ve got this!
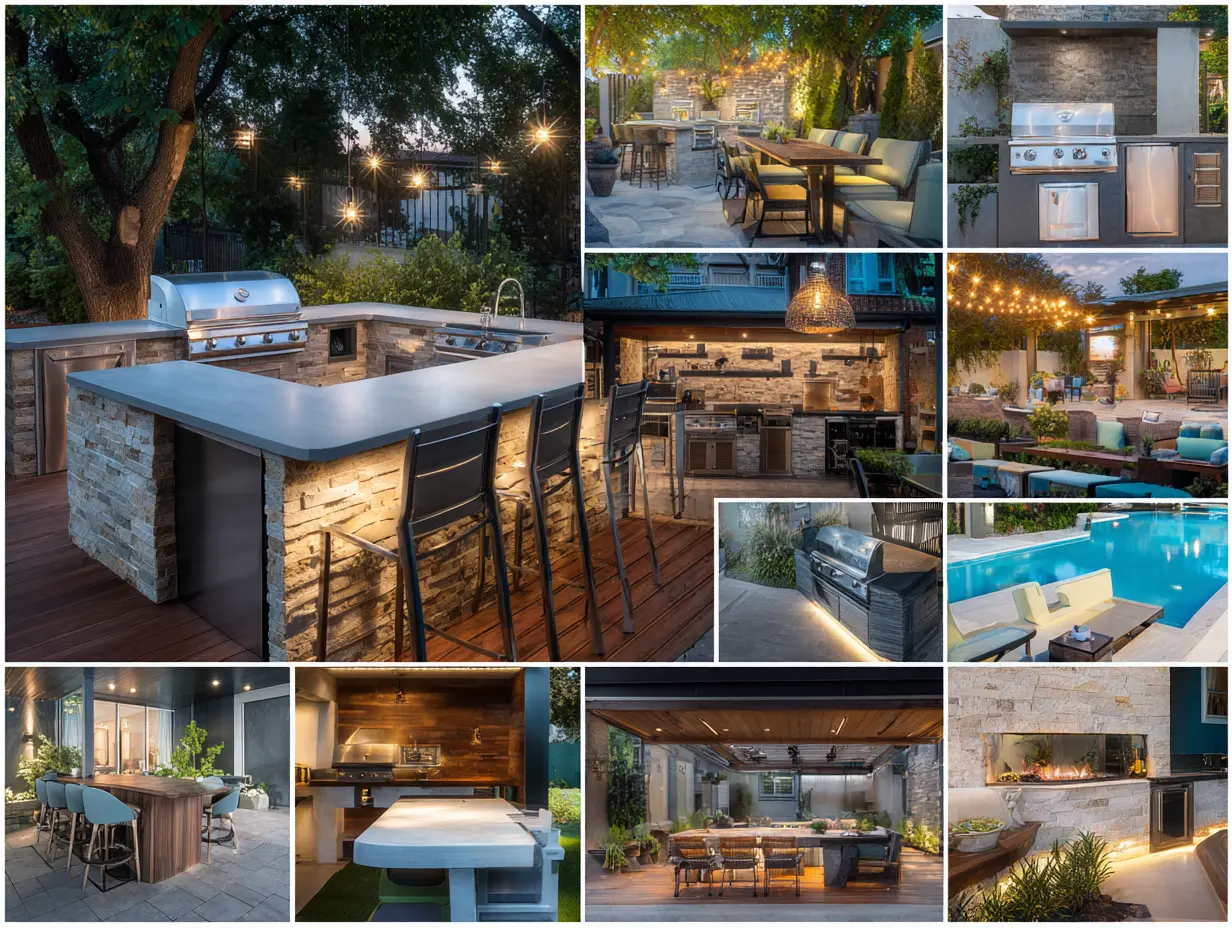
Psst: Heartbeet Kitchen nailed the art of building a backyard kitchen that feels like a true extension of the home. From a pergola-covered cooking space to lounge seating and custom cabinetry, Amanda and Brian’s year-long renovation turned their backyard into the ultimate entertaining zone. Their mix of natural materials, pops of color, and smart design choices proves you don’t need to follow a rigid plan to end up with something spectacular.