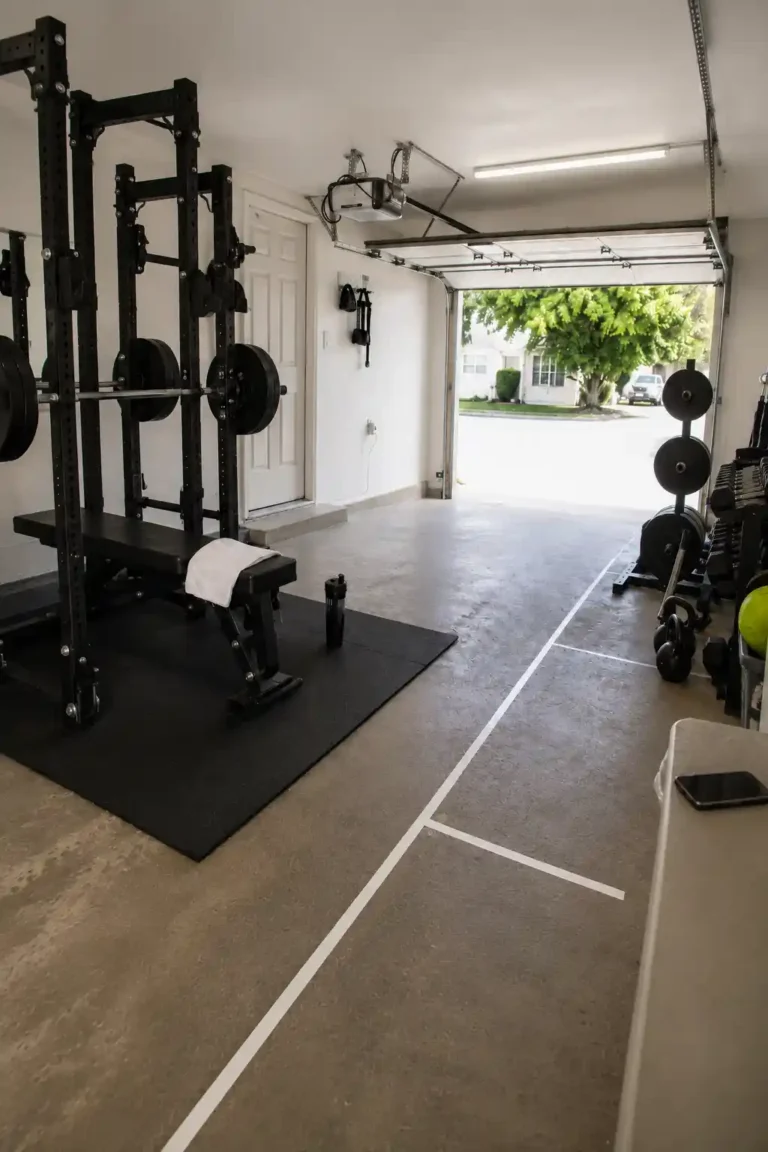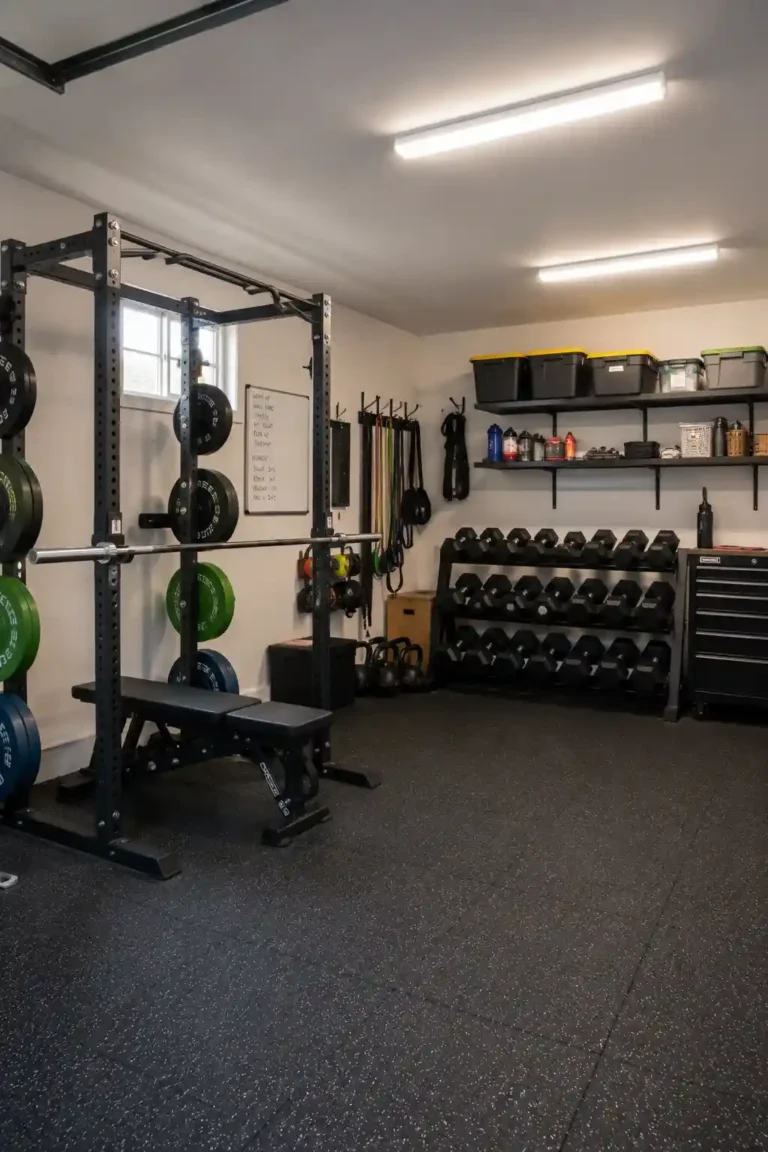

Garage gym flooring needs at least 3/8 inch rubber for light training and 3/4 inch for heavy lifting, with a durometer rating of 60-80 Shore A to protect your joints, your gear, and your concrete slab.
You can’t put 20 years in this business without having been in your share of garages. For the most part, you don’t remember them. One, though, I do.
There was oil on the ground, dog pee, and a kind of dampness in the walls. A gloom that had you making for the door before you were even fully inside.
I’m not implying yours is like that. But plain concrete is what it is: hard, unyielding, and it takes in everything. The moisture, the grime, the sweat. And it doesn’t let go.
So if you’re building out a home gym, garage gym flooring isn’t optional. It’s the foundation everything else stands on. Make a poor call and you’ll be sorry for it, your gear, your knees, and your will to put in the work will all pay the price. You don’t want to be training on something that has the vibe of a parking lot.
Fortunately, you don’t have to break the bank or overthink it. Here’s how I do it.
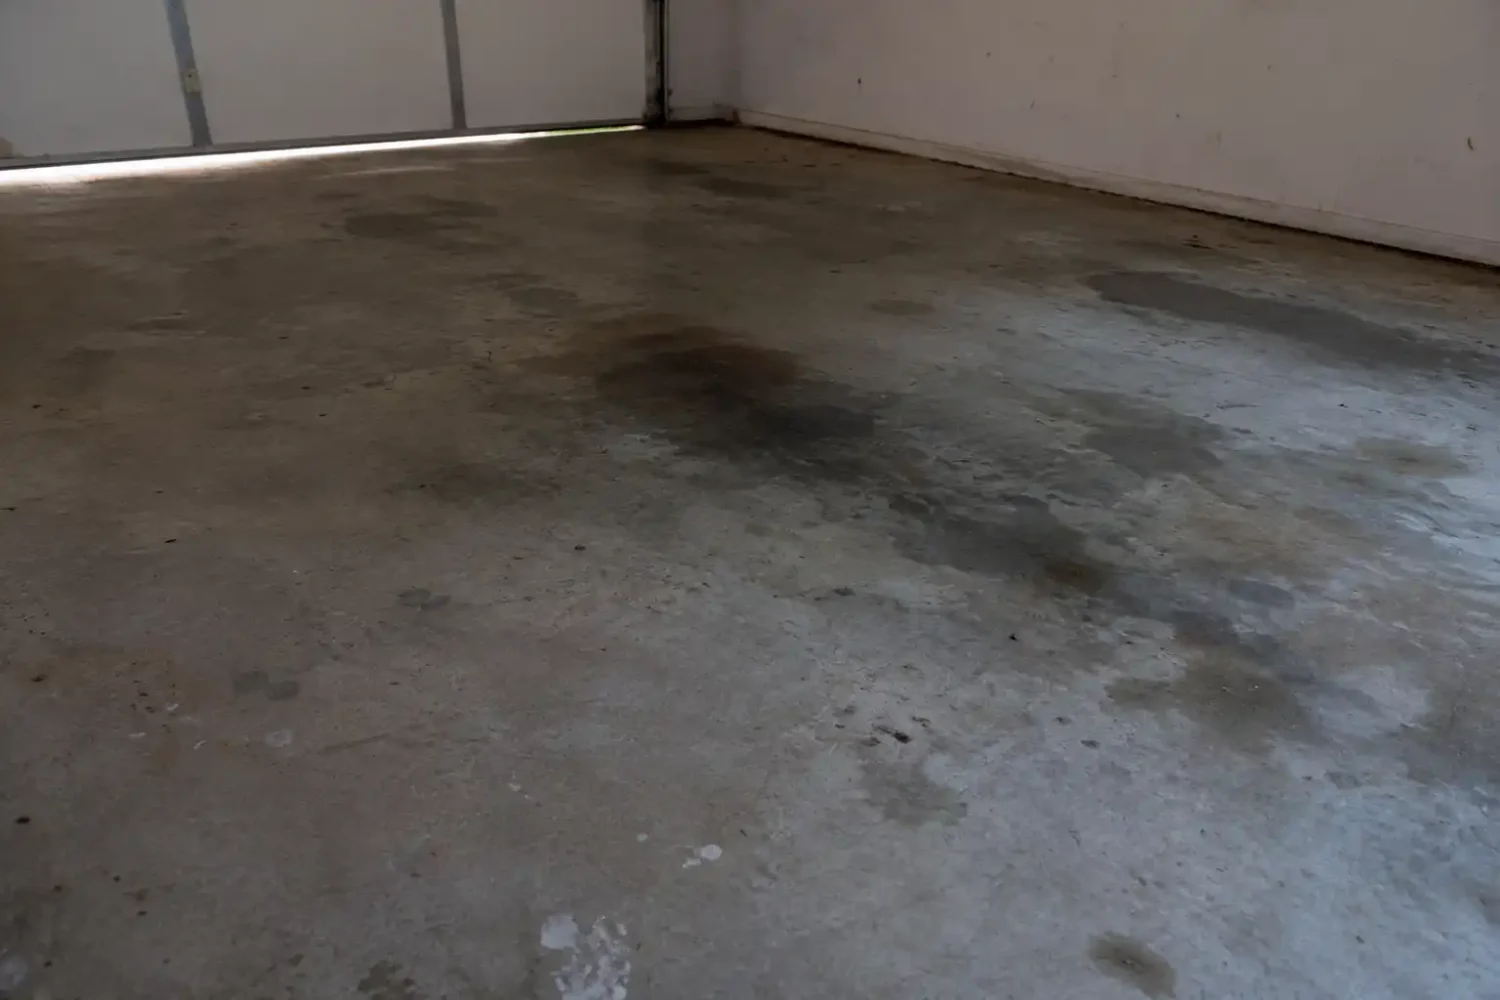
Table of Contents
Your Garage Gym Flooring Options: What Works
You won’t find two pieces of garage gym flooring that are the same. So let’s run through what you have to work with before we get to our top recommendation.
| Flooring Type | Best For | Cost Per Sq Ft | Durability |
|---|---|---|---|
| Rubber gym flooring | Most garage gyms | $2-4 | Excellent |
| Foam tiles | Light use only | $1-2 | Poor |
| Vinyl plank | Low impact areas | $3-6 | Good |
| Epoxy coating | Aesthetics | $3-12 | Good |
| Bare concrete | Nothing | $0 | Your joints hate you |
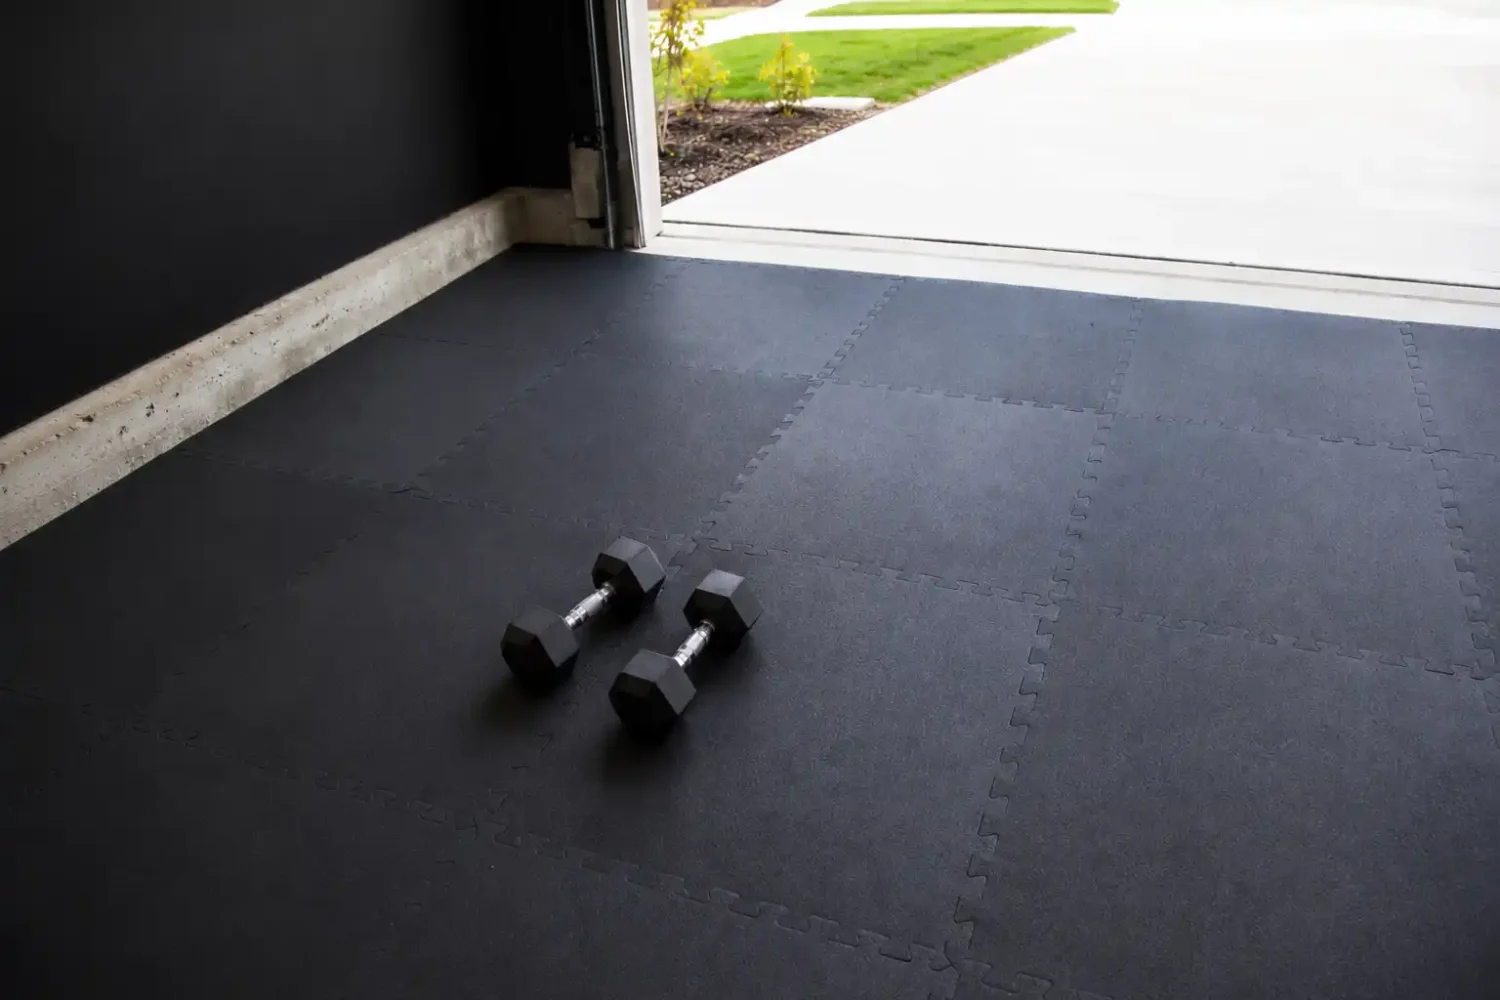
If you’re putting together a garage gym, rubber gym flooring is what you want. Period.
The case for it is simple:
- It takes the hit when you put down a weight
- Your concrete will be fine
- Won’t warp if things get damp
- A breeze to clean
- You can do it in interlocking gym mats or by the roll
- And at $2 a square foot and up, it’s on the cheap side
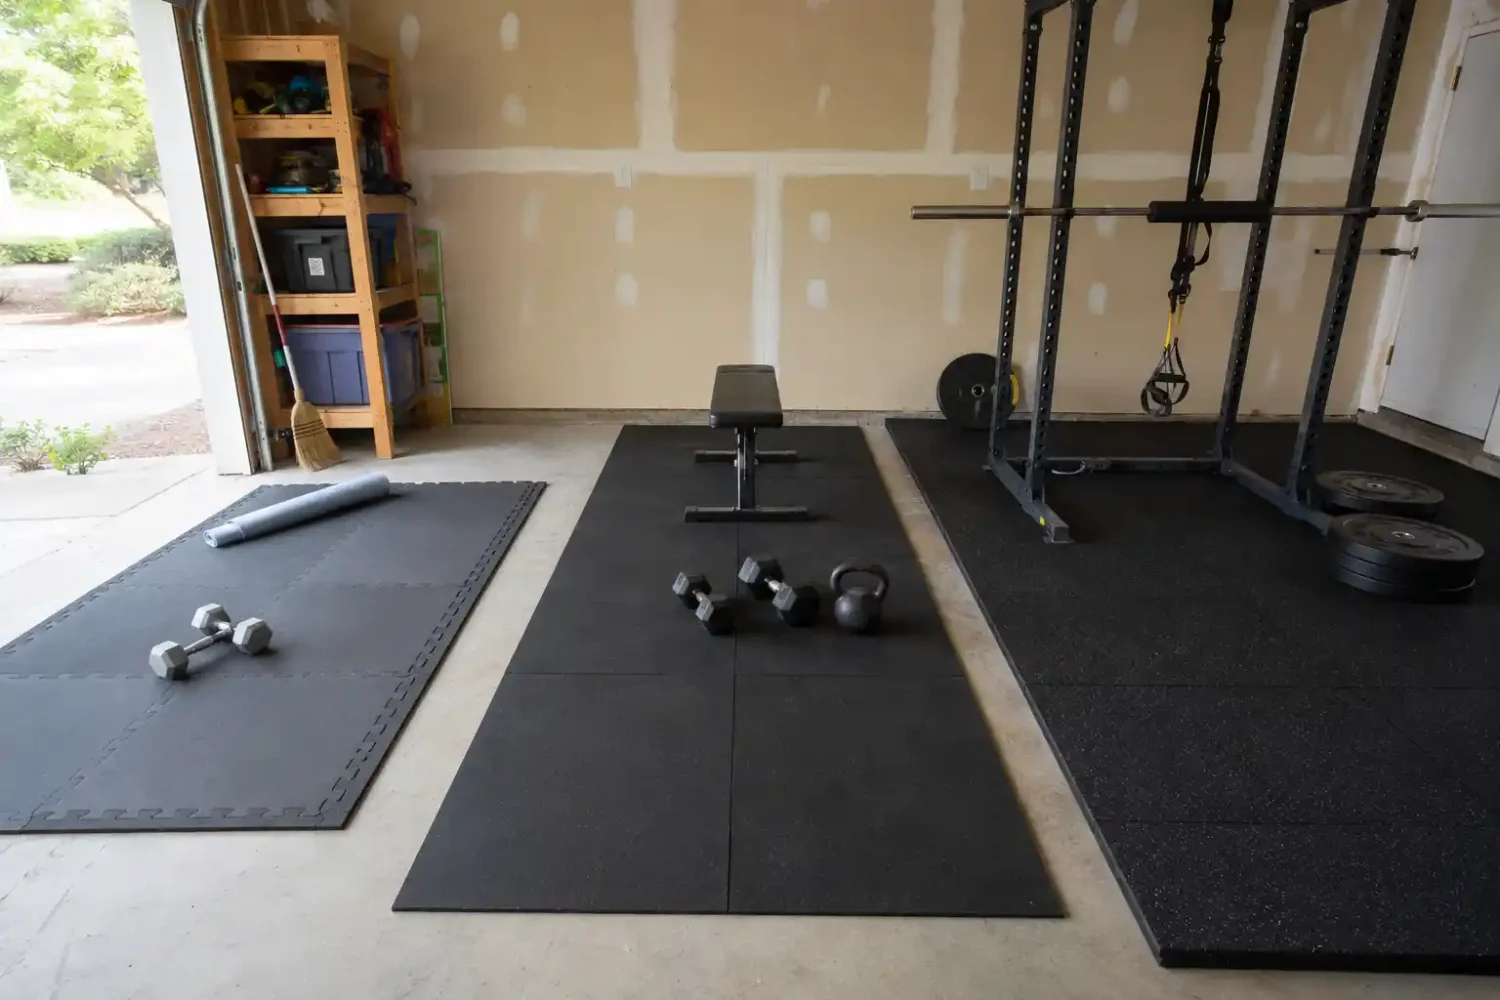
My pick for the majority of you? 1/2 inch interlocking rubber tiles. They’re the right thickness without being an arm and a leg. You can put some dumbbells on them and get your regular workout in and they’ll be fine. But if you’re one to put some heavy iron down, I’d make it 1/4 inch thicker. For the rest, 1/2 inch is all you need.
Interlocking Gym Mats: What to Look For
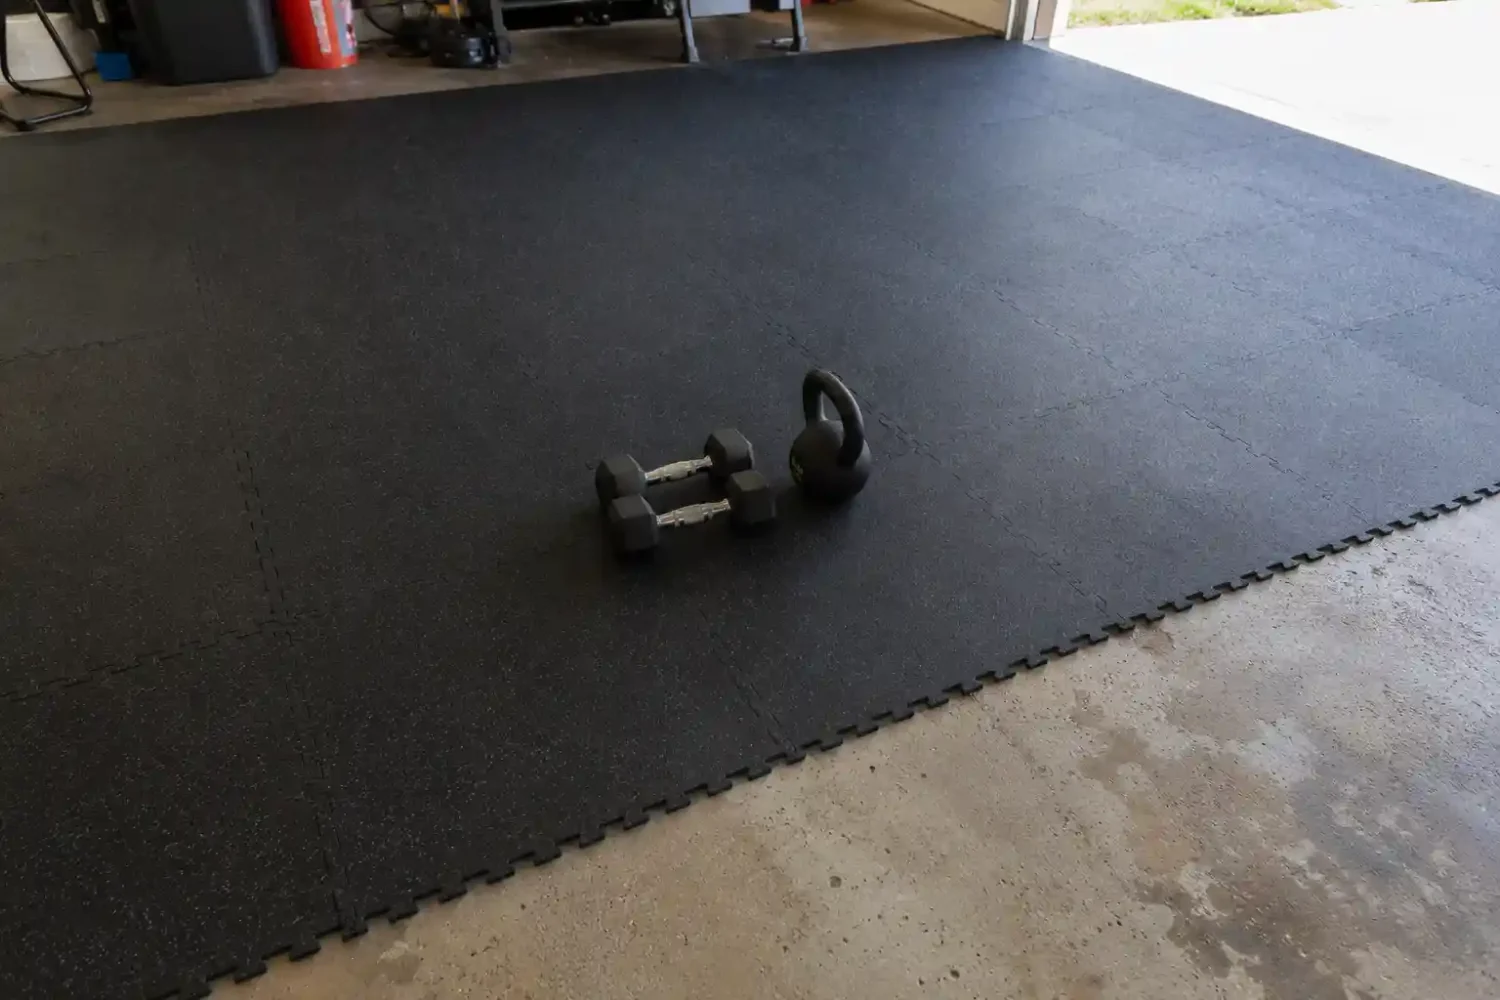
This is where most people land when they start shopping for the best flooring for garage gym. For the average garage gym, a good set of mats is the way to go. They’re a no-fuss project: you can put them in and take them out on your own, no handyman required.
Thickness Guide:
| Thickness | Best For |
|---|---|
| 3/8 inch | Light cardio, stretching, general use |
| 1/2 inch | Dumbbells, moderate lifting |
| 3/4 inch | Heavy weights, Olympic lifting, power racks |
You want edges that fit in snug and tight. You don’t want a tile on the move when you’re in the middle of a set. Go for high-density rubber, not some foam they’re trying to pass off as the real thing. The top can be smooth or have a bit of grip, up to you. And it has to be a surface you can clean with a quick wipe.
On the other hand, leave these behind:
If it’s less than 3/8 of an inch, don’t bother. Skip those ‘puzzle’ foam tiles you see sold as gym mats. They aren’t for this. And steer clear of any no-name imports that reek of chemicals.
As for price, here is a rough idea:
- Budget: $1.50–$2.50 a sq. ft.
- Mid range: $2.50–$4
- Top tier: $4 and up
Let’s say you’re outfitting a one-car garage for 200 square feet. With the right thickness and quality, you can expect to put out somewhere between $300-$800.
Once your floor is set, lighting is the next thing that changes everything. Here’s how to get it right: Garage Gym Lighting: Lights, Layout, Mistakes to Avoid
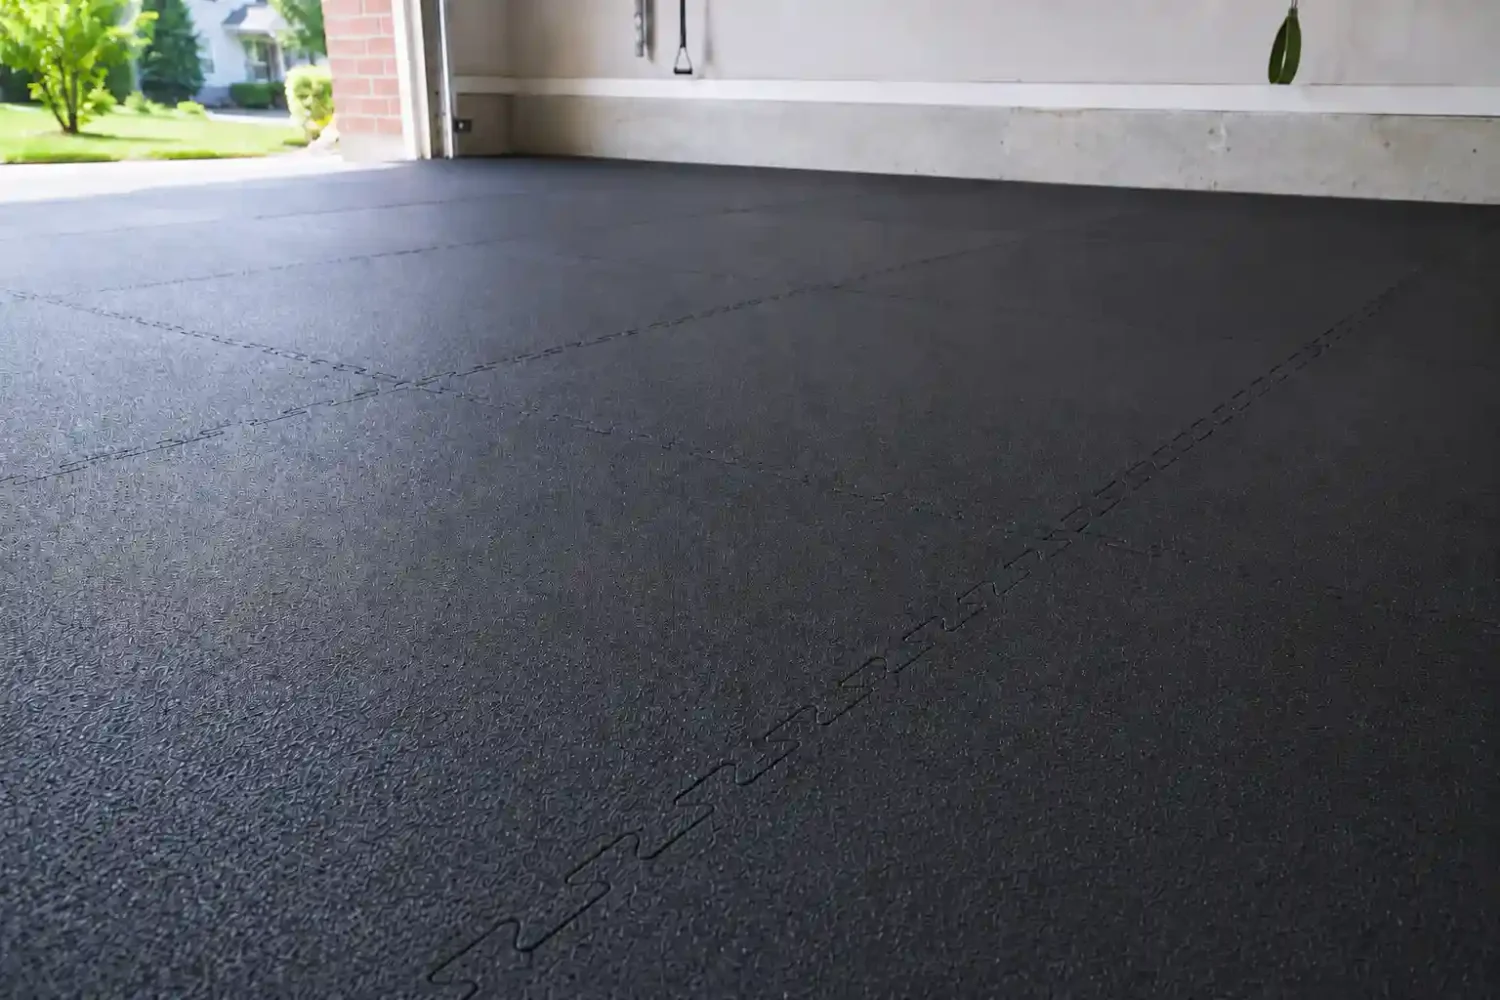
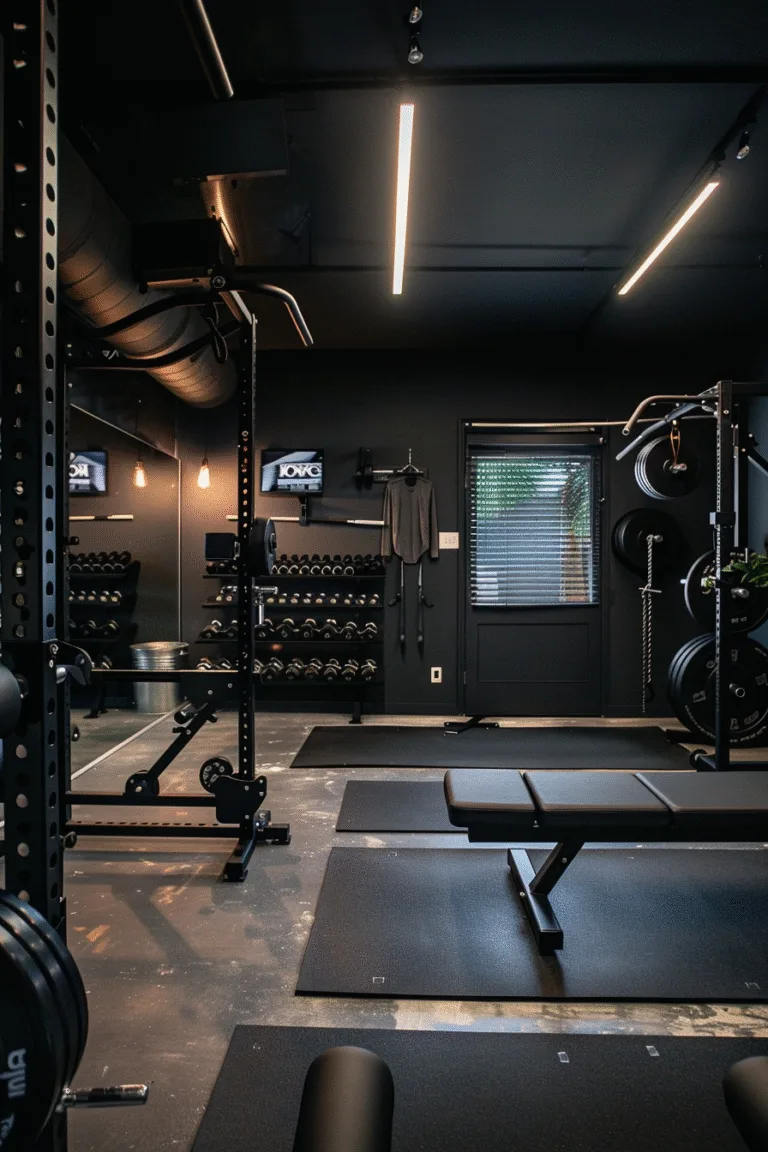
Ready to see what your garage gym could look like? Check out Black Garage Gym Ideas That Look Badass for serious inspiration.
Best Flooring for Garage Gym at Every Budget
The one thing that puts the brakes on a garage gym project is usually the price tag. Here’s how to put some good flooring in without overthinking it, no matter what you can spend.
Under $300
Go with 3/8 inch interlocking gym mats. They’ll do the job for a small area where you do your cardio or some bodyweight work and light dumbbells. You won’t be covering the whole garage, but for a starter setup, they’re fine. My advice: put them down in your primary spot and add more as you go.
$300 – $600
If you can put a little more into it, 1/2 inch rolls or tiles are the way to go. This will let you outfit an entire one-car garage and you can get after it with some heavier lifting. For the majority of us, this is the ideal middle ground.
$600+
You’re looking at 3/4 inch high density rubber. It’s for the full monty, power racks, big weights, the works. It’s made to hold up for a decade or more. If you like to move iron, it’s a fair trade.
Quick Cost Calculator:
| Garage Size | Budget Option | Mid Range | Premium |
|---|---|---|---|
| 100 sq ft | $150-250 | $250-400 | $400-600 |
| 200 sq ft | $300-500 | $500-800 | $800-1200 |
| 300 sq ft | $450-750 | $750-1200 | $1200-1800 |
Prices vary by brand, thickness, and retailer. These ranges reflect current market averages but always check current listings before buying.
How to Install Your Gym Floor in an Afternoon
Here’s the good part: with rubber gym flooring, you don’t have to put it off for a weekend. You can have it done by dinnertime.
The only things you’ll need are:
- The tiles or rubber gym flooring
- A tape measure
- A utility knife to make some cuts
- A rubber mallet (you don’t have to have one, but it makes life easier)
- A floor that’s clean and dry
Here is how you do it:
- Prep the concrete. Give it a good sweep and mop and be sure it’s bone dry.
- Make a start in the middle of the room and your way out.
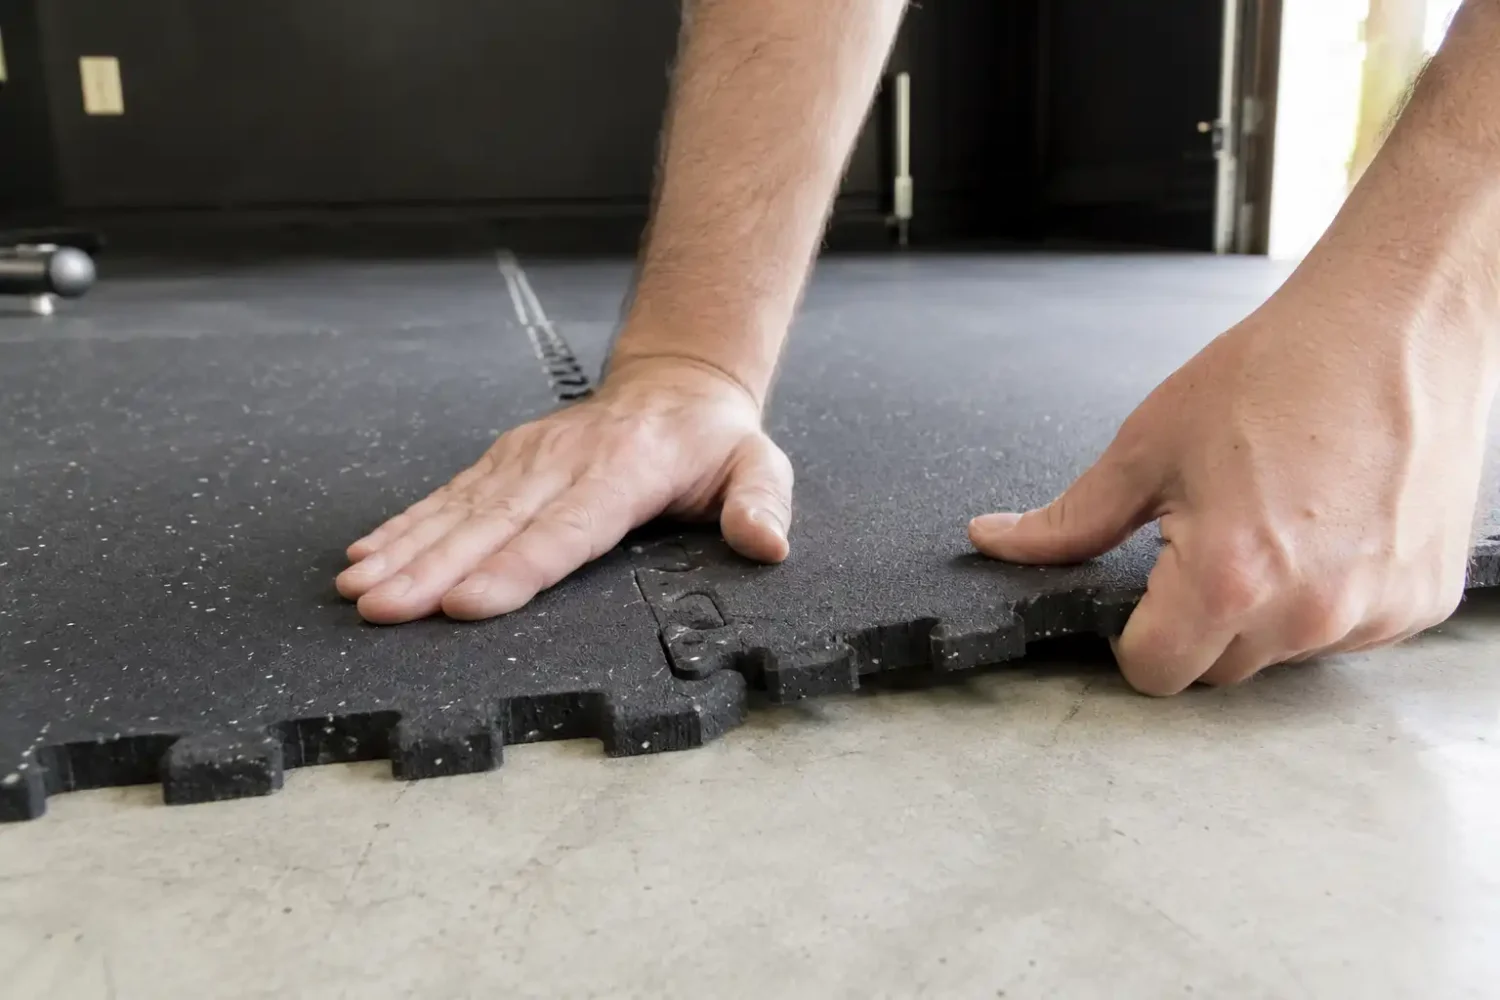
- As you lay them, lock the tiles in place, edges first.
- When you get to the walls, use the knife to trim any excess.
- If you have a mallet, give the seams a firm tap to keep everything put.
A couple of tips:
- In colder weather, let the rubber acclimate to the room for a day or so before you put it down.
- Make sure there’s no moisture on the subfloor. If there is, deal with it; otherwise you’re going to have a stink problem.
- This is a floating install, so there’s no glue to worry about. Take it up whenever you like.
You’re done.
Once your floor is down, the fun begins. See how others have taken their garage beyond the gym with Garage Man Cave Ideas That Flex and Function.
Mistakes That Will Cost You Later
A few bad decisions can cost you more in the long run. Skip these.
For one, don’t make the error of thinking foam tiles are the same as proper gym flooring. They’re no good for a garage setup; they’ll only last so long before they break down under any real weight. Save them for your yoga mat.
And don’t be in a hurry to cut costs on thickness. When you let a dumbbell go, that extra quarter inch is what stands between you and a scuffed concrete floor.
Make sure the subfloor is dry before you put anything on top. If there’s moisture under your rubber, it’s going to stink up the place and you won’t be able to do much about it. Deal with the dampness first.
You can find some very cheap rubber on Amazon, but read the fine print. A lot of the budget stuff has a way of off-gassing an odor for who knows how long. Do a little homework on the reviews to see if anyone else has had to put up with it.
Finally, leave the glue in the box. A floating install is much better. Once you’ve adhered it to the ground, you’re stuck with it. And if you ever need to pull it up or put the house on the market, you’ll be glad you didn’t.
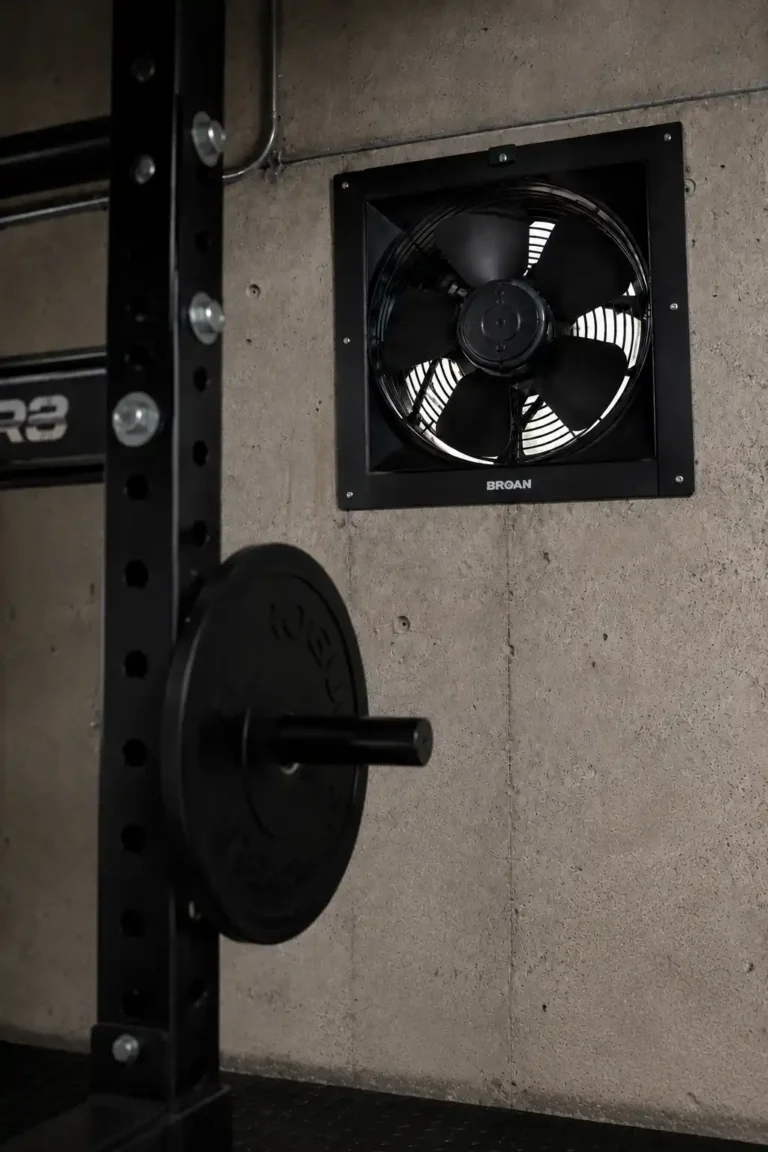
One more thing before you get moving: a solid floor won’t save you from bad airflow. If damp air or mold risk is a concern in your space, my Garage Gym Ventilation guide covers exactly what you need.
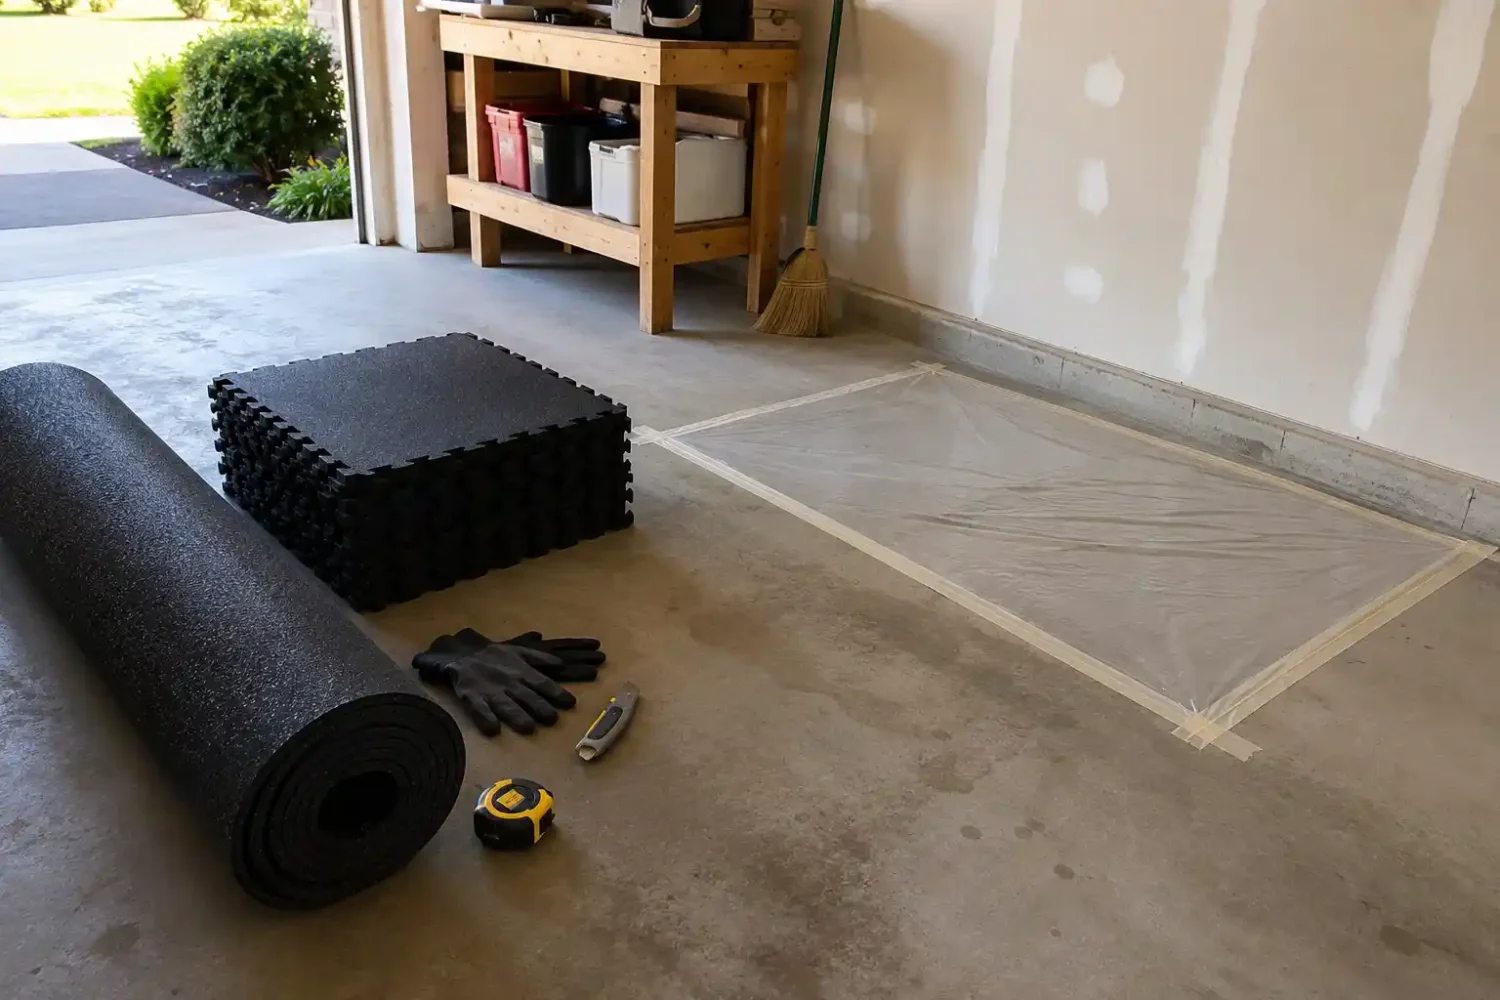
See that plastic sheet taped to the concrete? That’s a moisture test. Leave it 24 hours. If it’s wet underneath, fix that before you lay a single tile.
Your Questions Answered
What kind of garage gym flooring can you put in for some heavy lifting?
There’s only one answer: 3/4 inch high density rubber gym flooring. It will take the hit, save your concrete and last you years. If you go with anything less, you’ll be feeling it in your knees and the floor will show it.
So what are we talking in terms of cost?
Anywhere from $1.50 to $4 a square foot is what you should expect. For a typical one-car setup, most folks are in the $300-$800 range. I’d say put aside for the mid-range option. You don’t want to be on the cheap end and have to do it over. As they say, buy nice or buy twice.
My concrete has some cracks, can I still install it?
If they’re minor, sure. But if you’ve got some big, uneven ones, you need to fix those first. You want your tiles to sit level and not move around when you’re in the middle of a set. A floor that wobbles is more than a nuisance; it’s a hazard.
Will the interlocking gym mats have an odor?
You might get a whiff at first, but it’s nothing to write home about. Let them breathe outside for a day or two before you put them in and you won’t even think about it once they’re in place.
Is it a lot of work?
Not at all. You can have it done in an afternoon. With interlocking gym mats you don’t need any fancy equipment. If you can put a puzzle together, you can handle this.
Thinking bigger than just the garage? Our Outdoor Man Cave Ideas That Bring the Backyard to Life might be exactly what you need next. And if you’re not sure where all your gear is going to live once the floor’s down? Check out Garage Gym Storage Ideas: Stop the Clutter for Good for zoning and shelving that keeps the room usable.
Home Hero Jen Mindset Shift
A word from me before you go and close this tab.
Let’s be clear: you don’t have to have a garage gym that looks like it came out of a catalog to put in some work. I’m not talking about the top-shelf flooring or a space ready for an Instagram post. None of that is a prerequisite.
What you do is find your spot. A few interlocking mats, a little corner you can call your own, and you’re set.
Even if the place has a whiff of motor oil and history to it, so what? It’s where you make your move. You don’t need to be perfect. You just need a place to stand and a motive to get after it.
And if you’re looking for some nudge to get moving on your end, you might want to read up on my Home Hero Jen Mindset Shift.
You have all you need to get going.
Want to see a real garage gym floor transformation with actual photos? Brooke at Nesting With Grace did a gorgeous walkthrough of her garage gym including the SwissTrax interlocking floor that took her family just two hours to install. Worth a look for some serious inspiration. Check it out here.